

There has been so much debate on the internet in the past 10 years regarding retrobrite. I have been having mixed feelings about the subject ever since I have learned of its existence. The success stories on youtube do look beautiful. But the horror movies posted by some people who got their precious hardware back all messed up, the resurfacing of the yellowing after a period of time, the fact if it actually harms the plastic or not. All these things caused so much controversy. But after reading and discussing about it for years, I finally gave in to the temptation. I knew exactly which technique I wanted to try out, and I'm so glad I did. I had the perfect victim in sight for the project. So if you want to learn a bit more about retrobriting your precious ST, come along and follow my first adventures in restoration. Not just any project, a double dose as I will be bringing back 2 STf computers to life.
ST Graveyard has written 1 additional articles
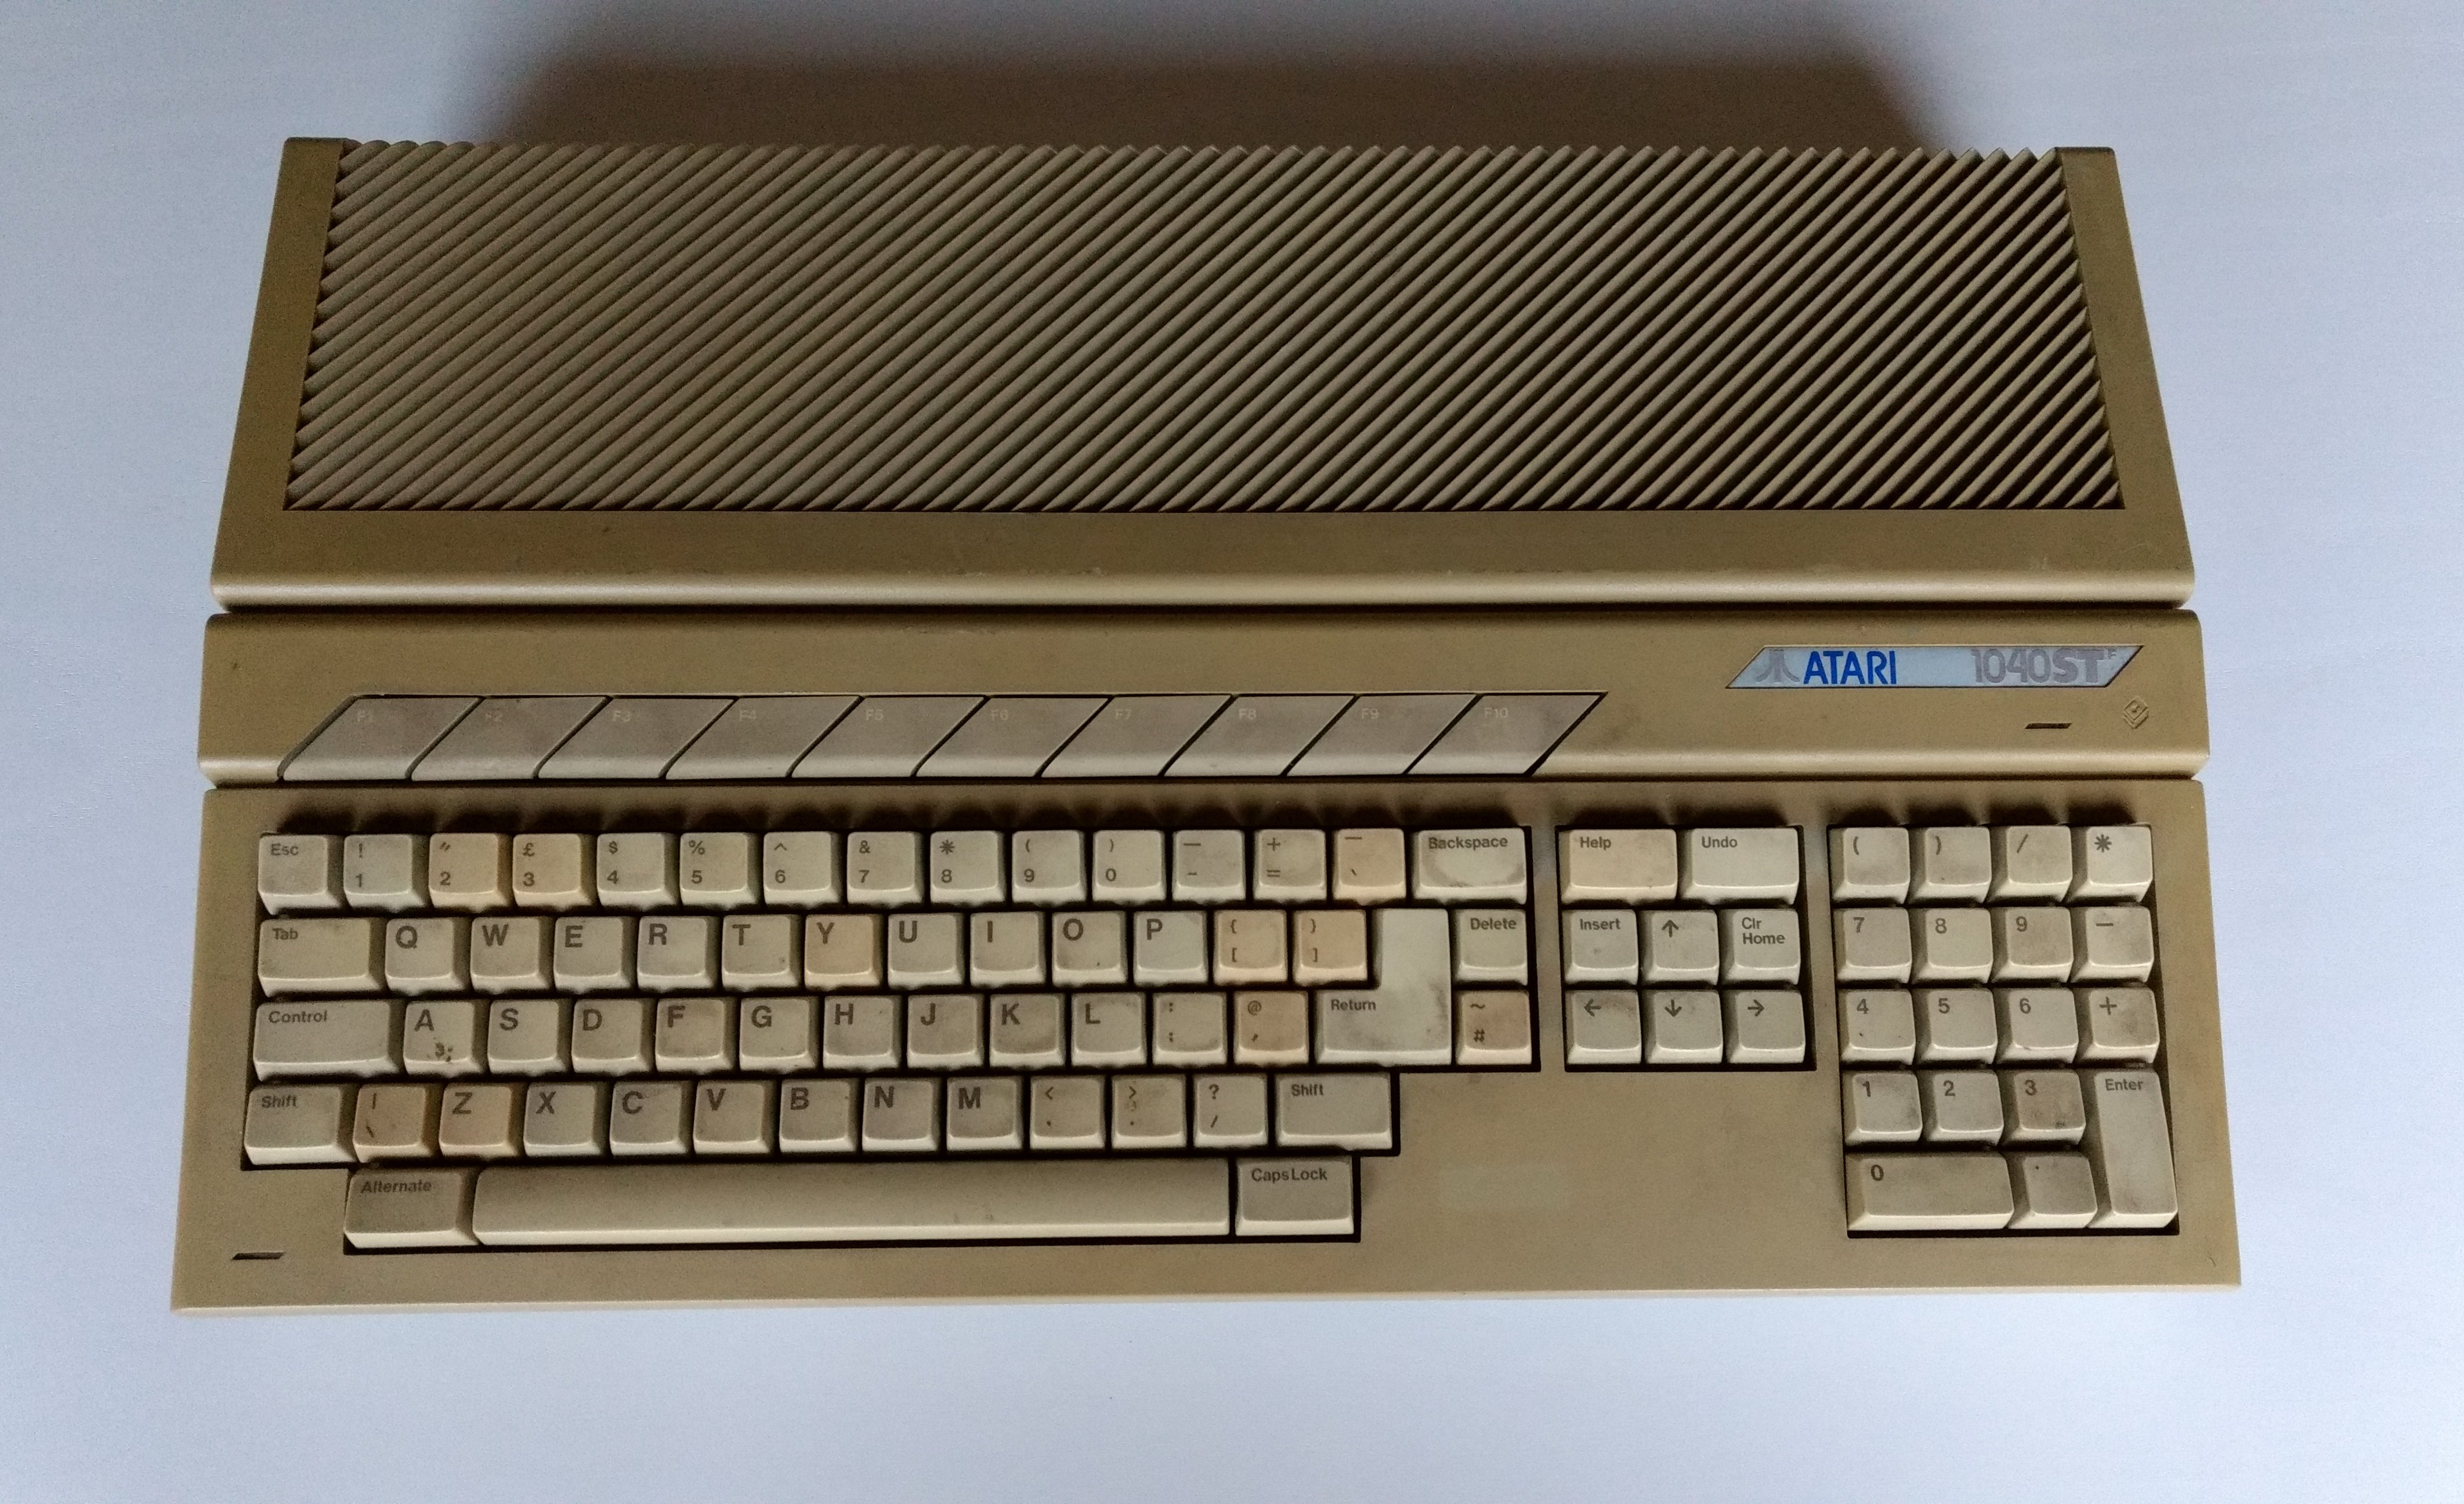
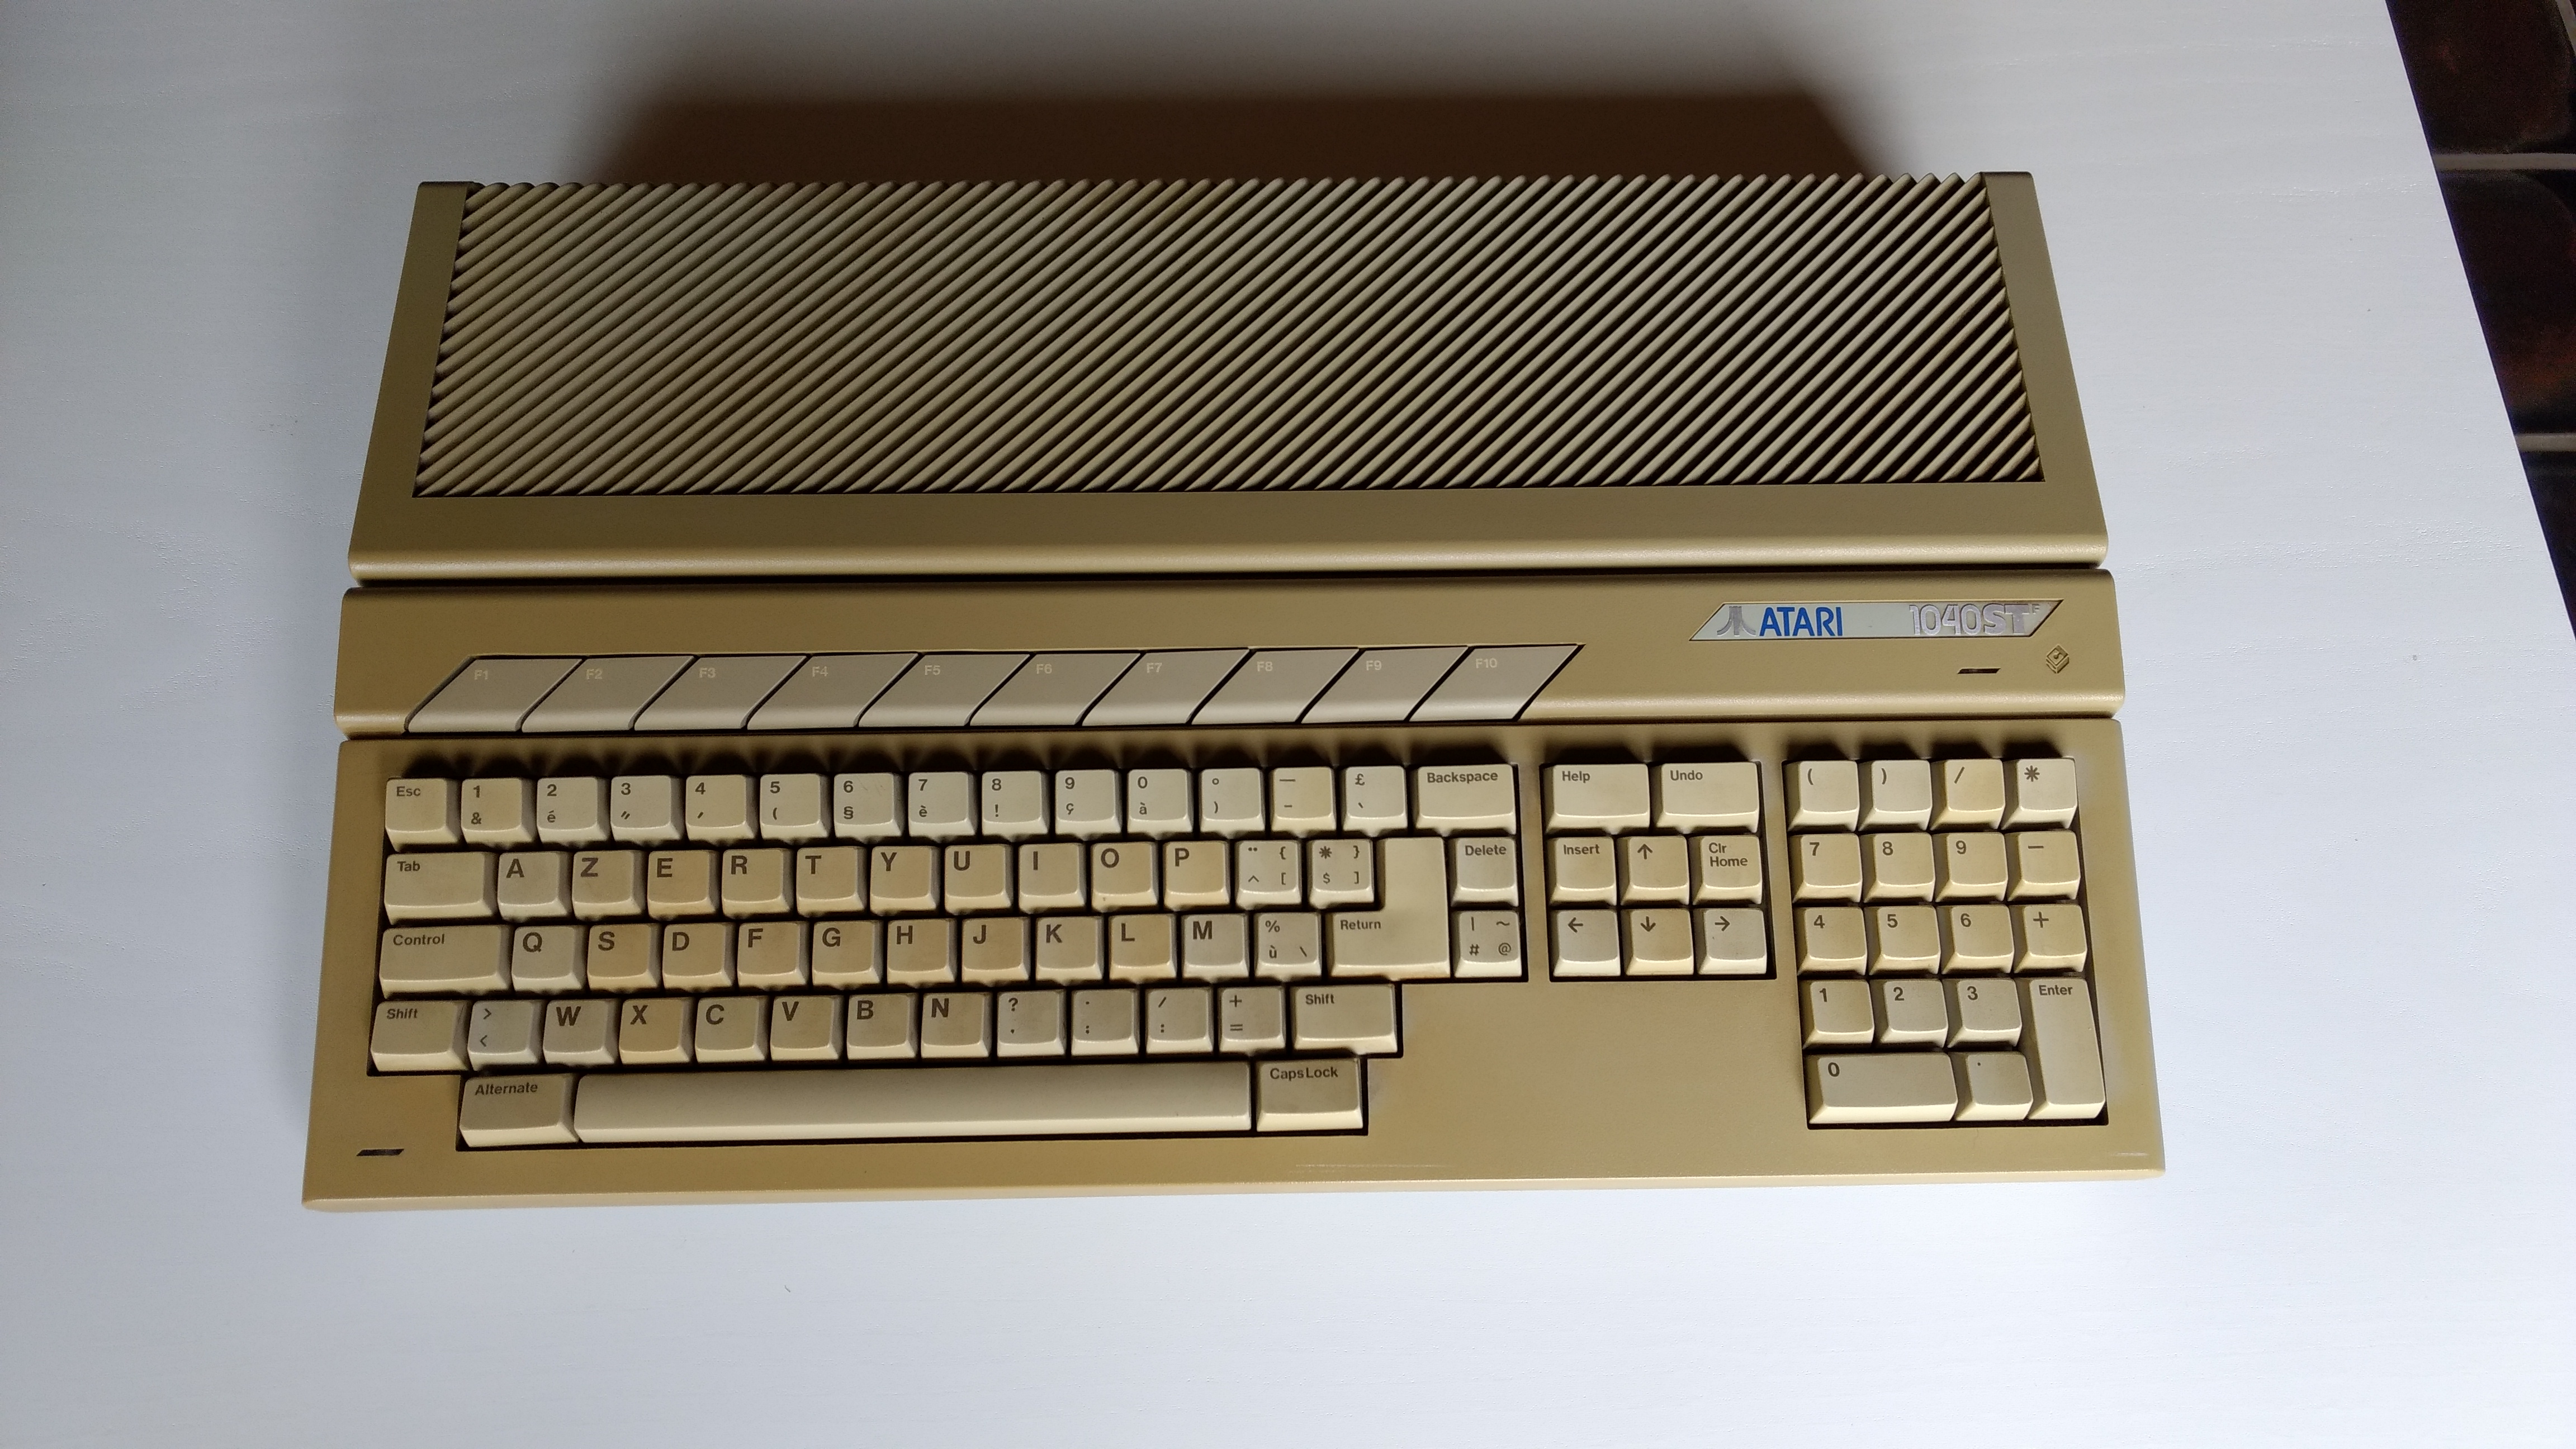
An Enlish 1040STf totally for free. I took the picture on a white background so you get a clear view of how yellow it actually was.
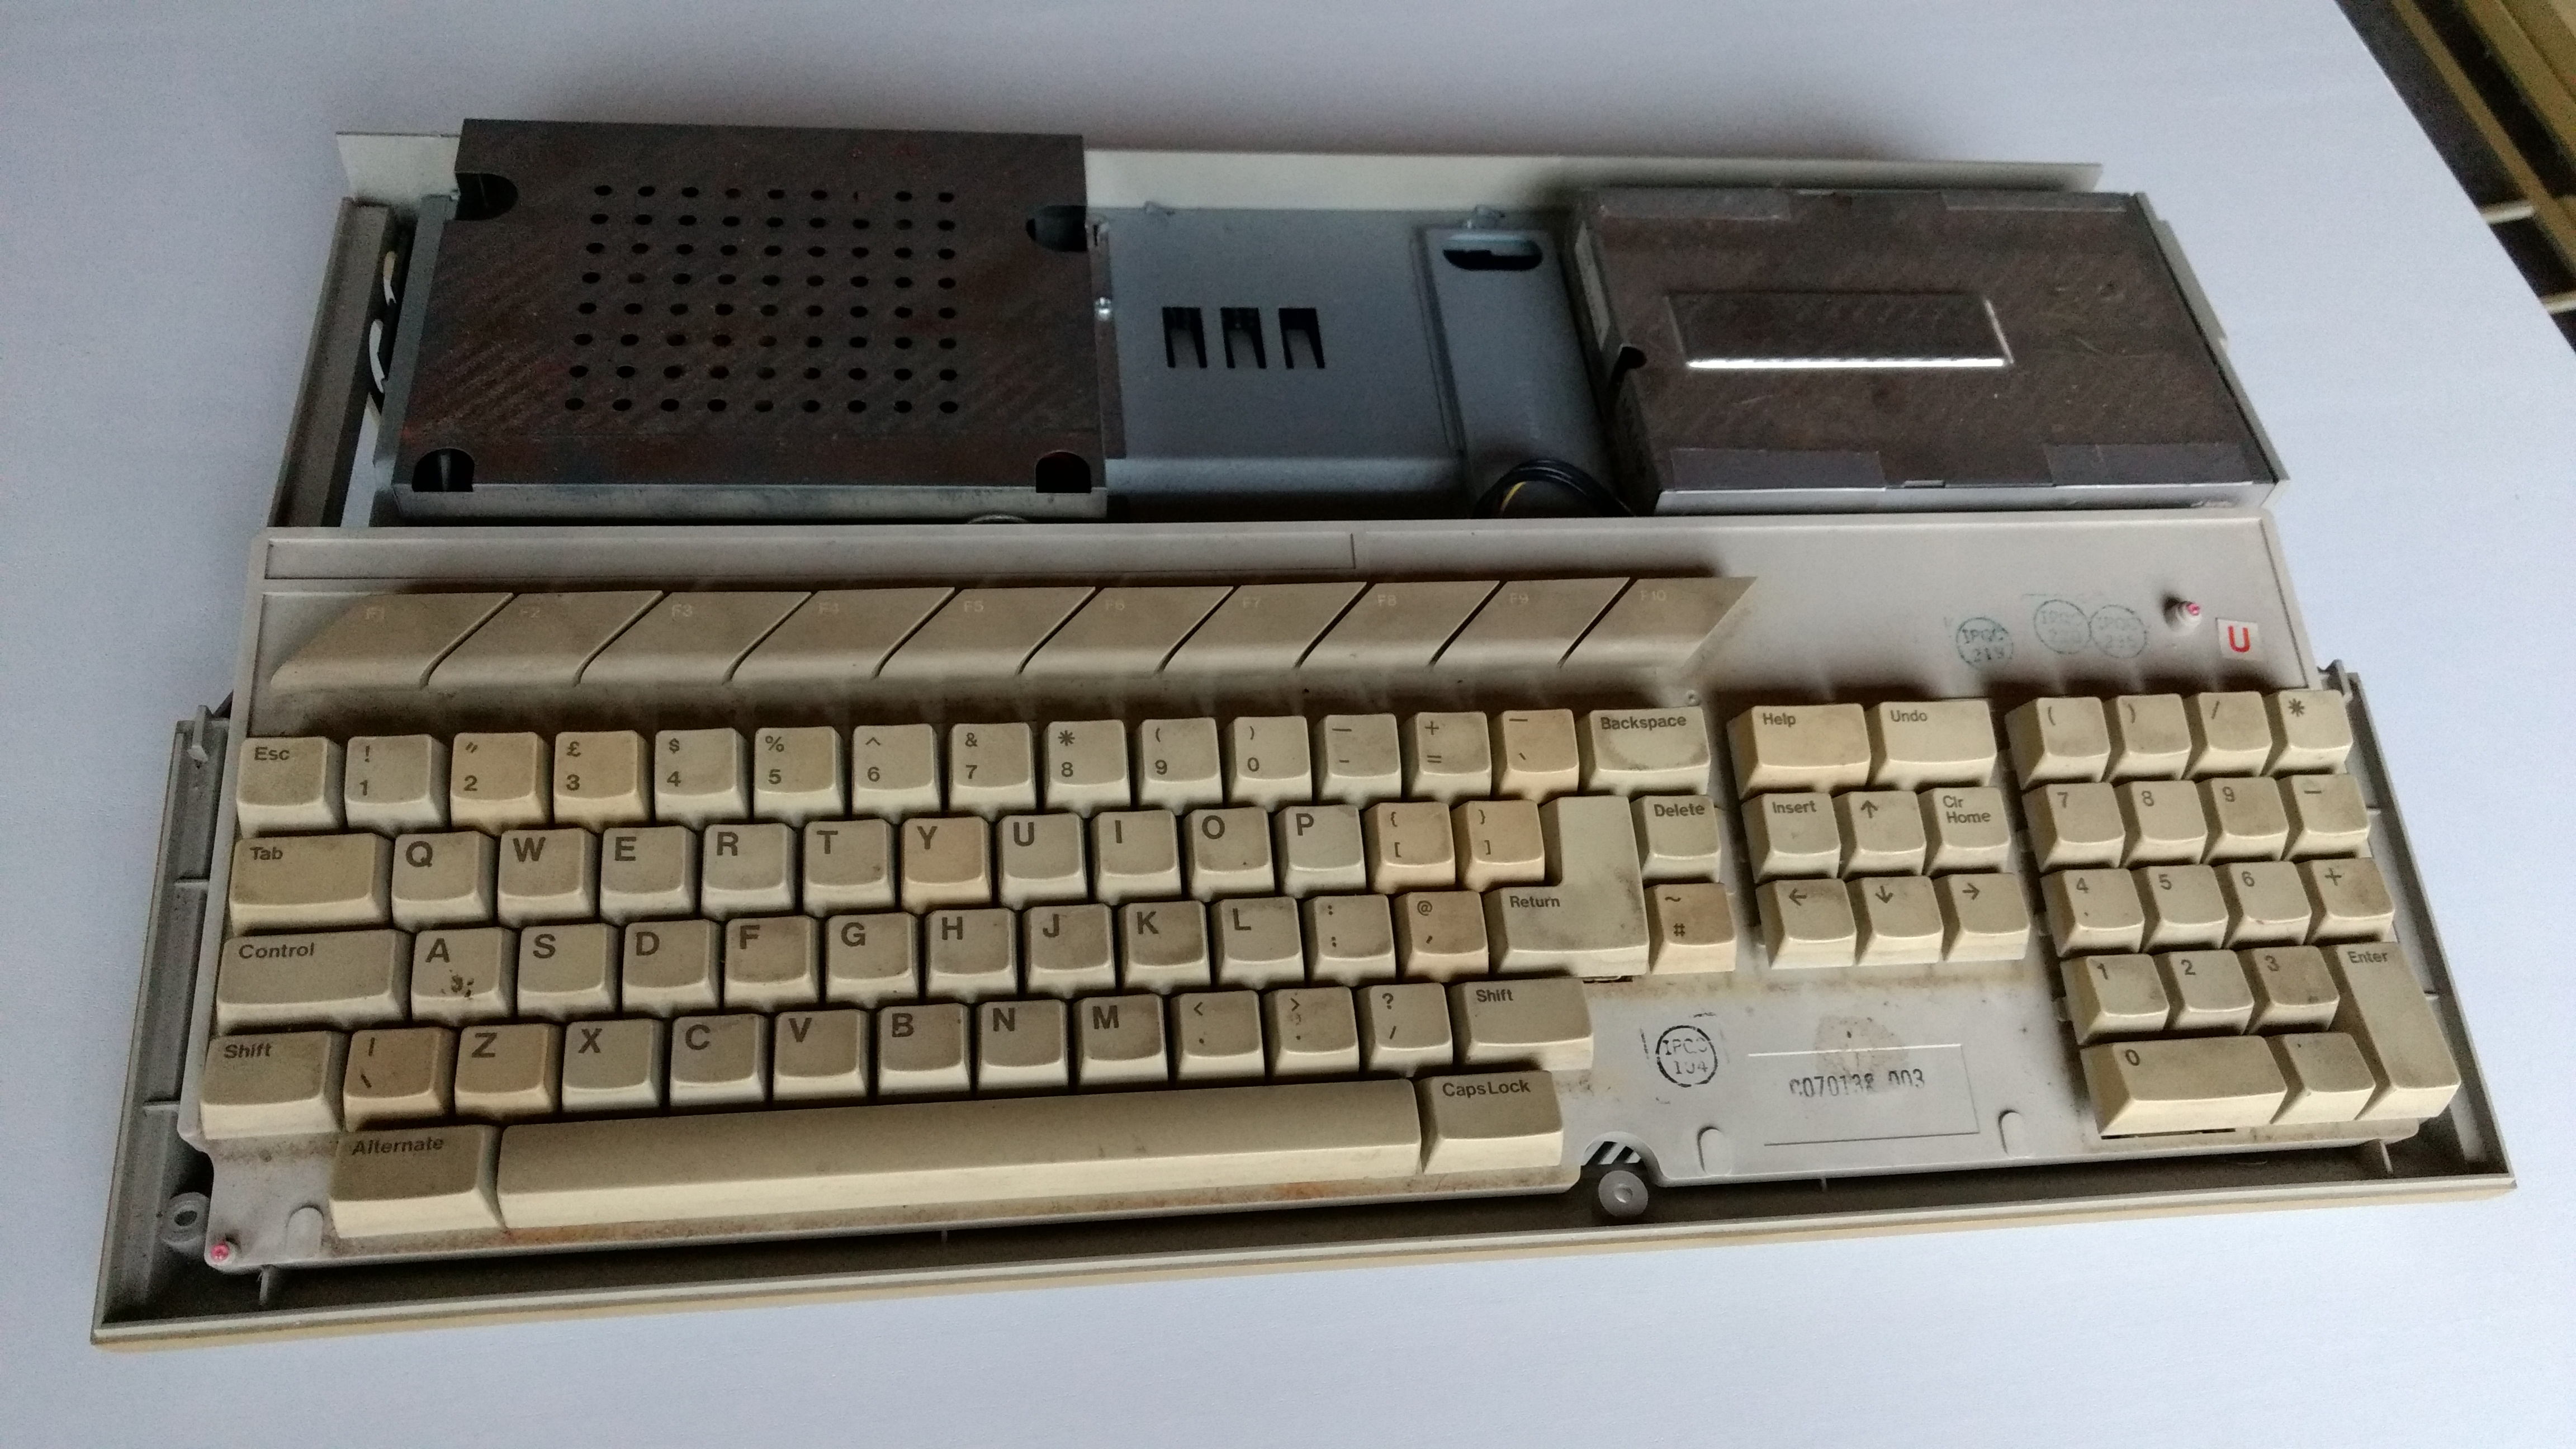
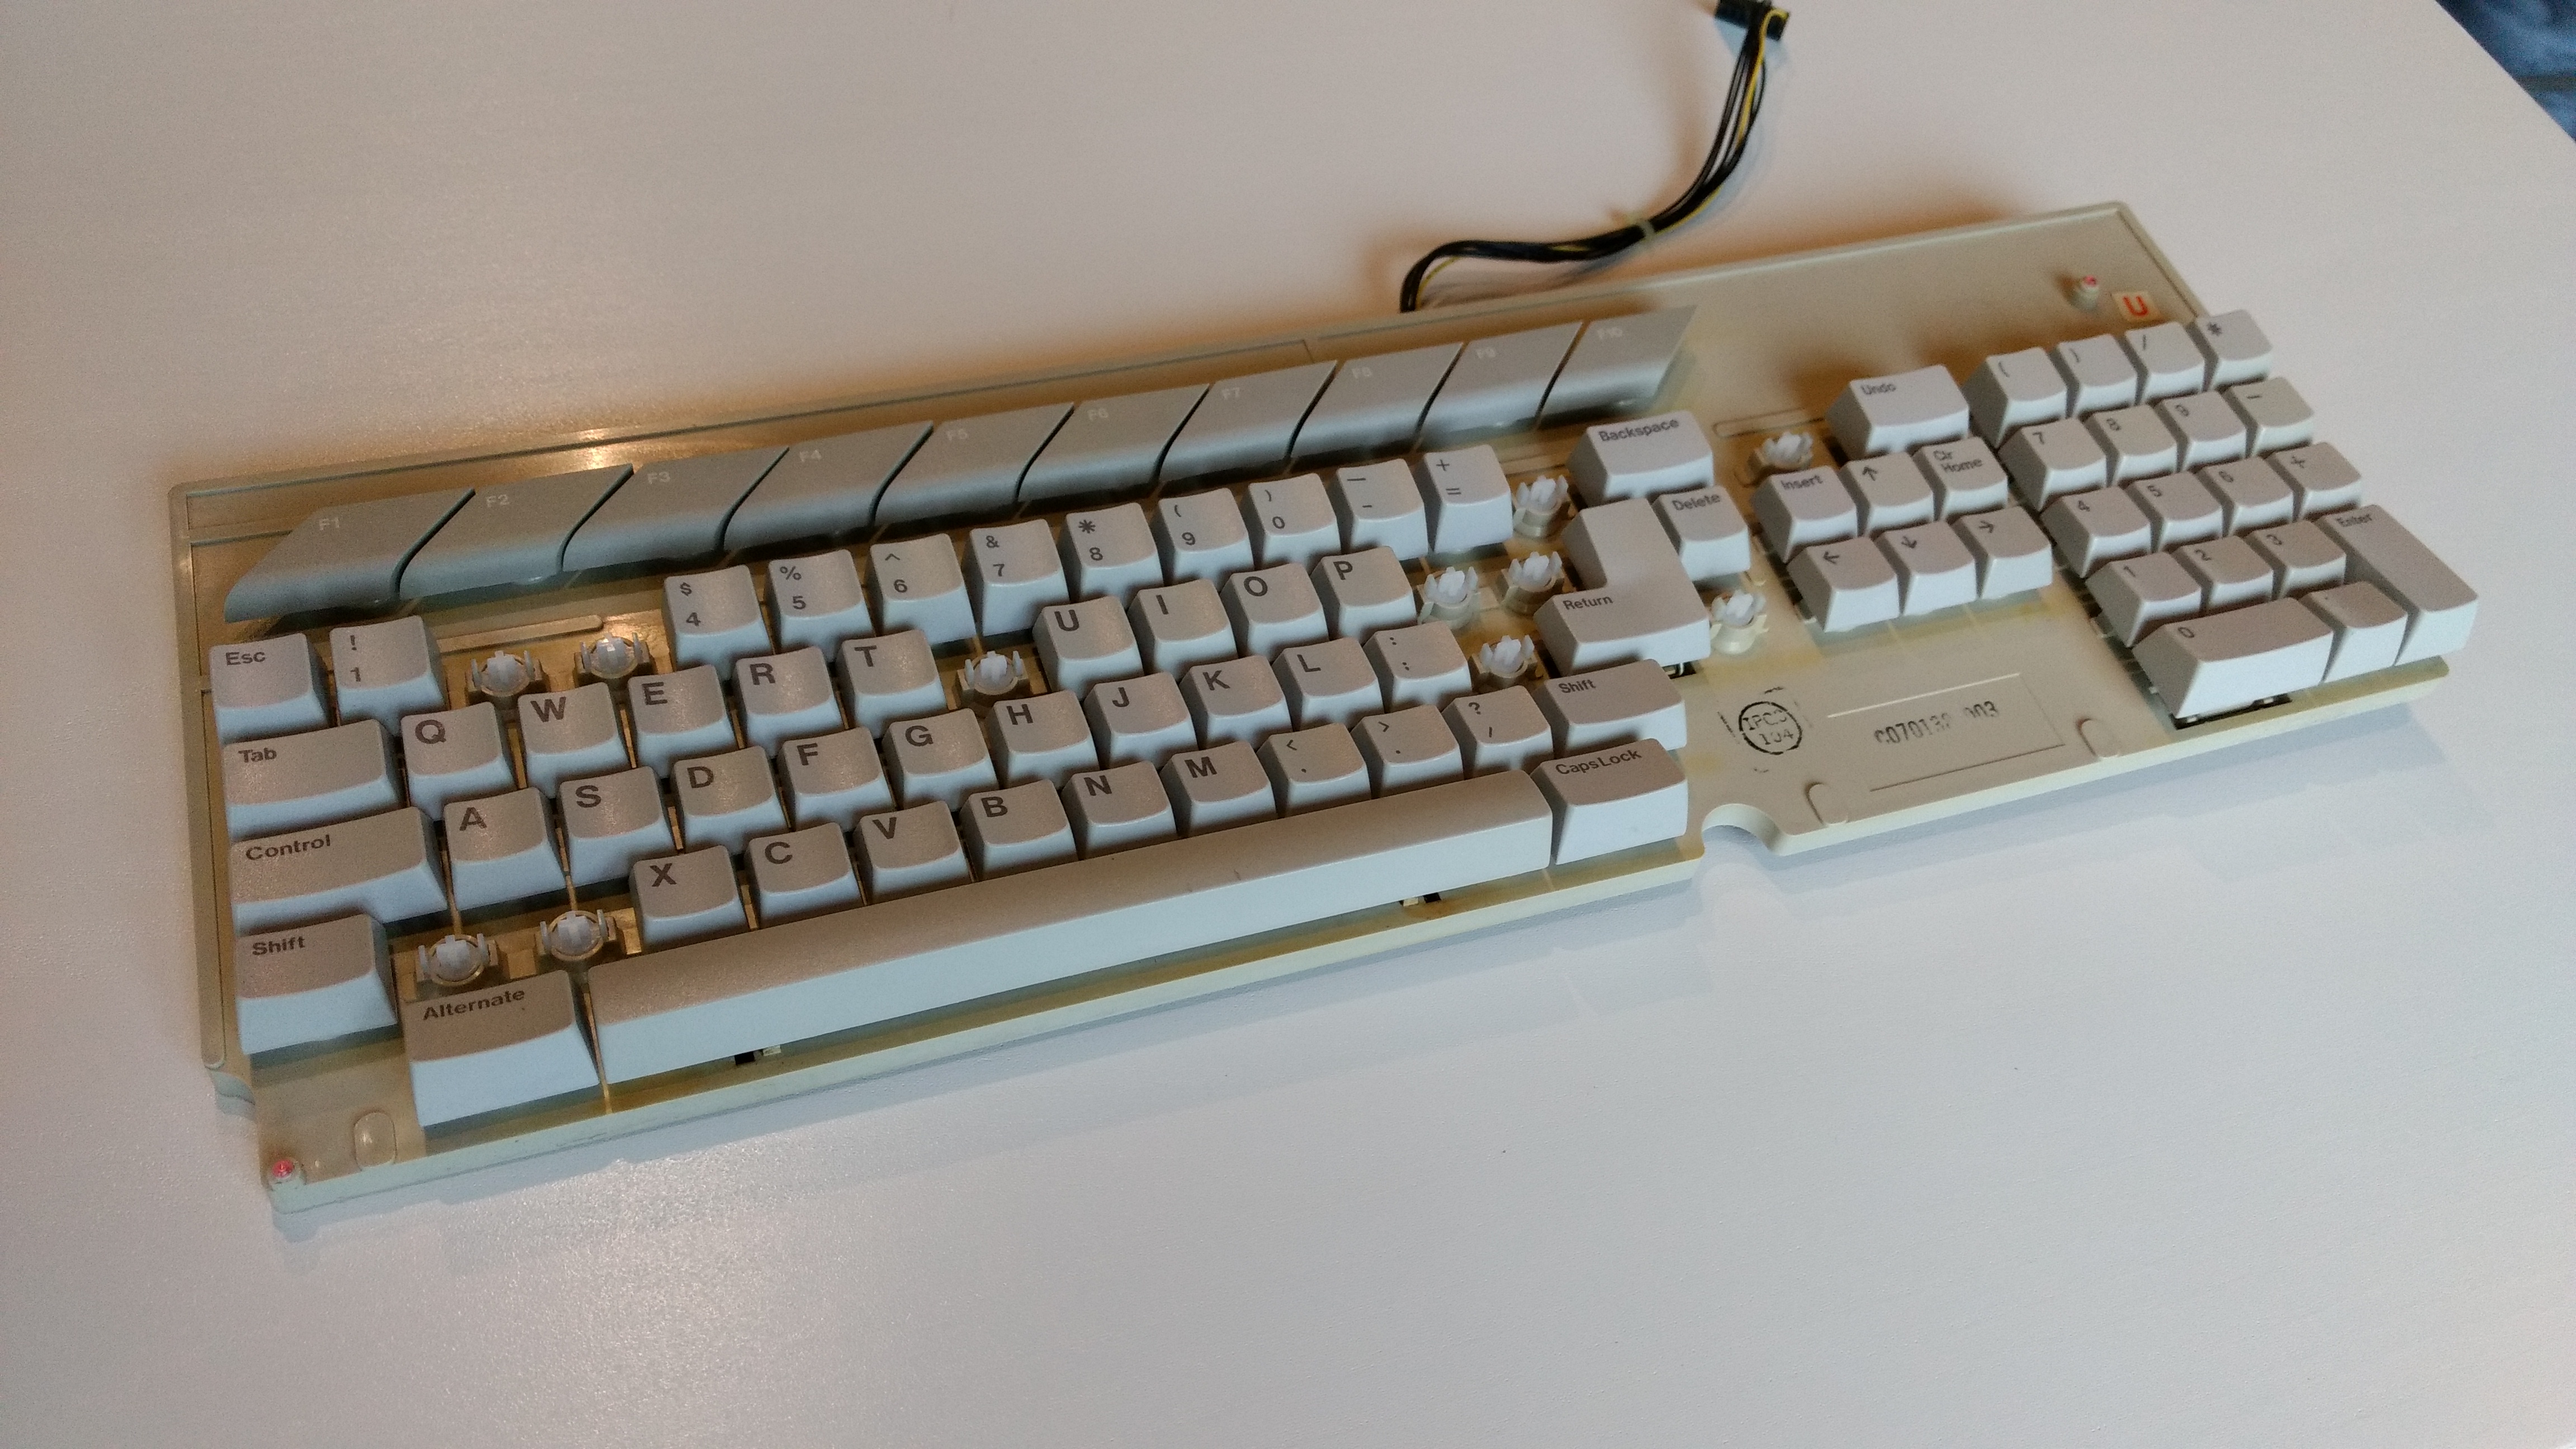
Surface rust is starting to show on the shielding. Also notice the dirt and grime on the keyboard. A lot of cleaning needs to be done.
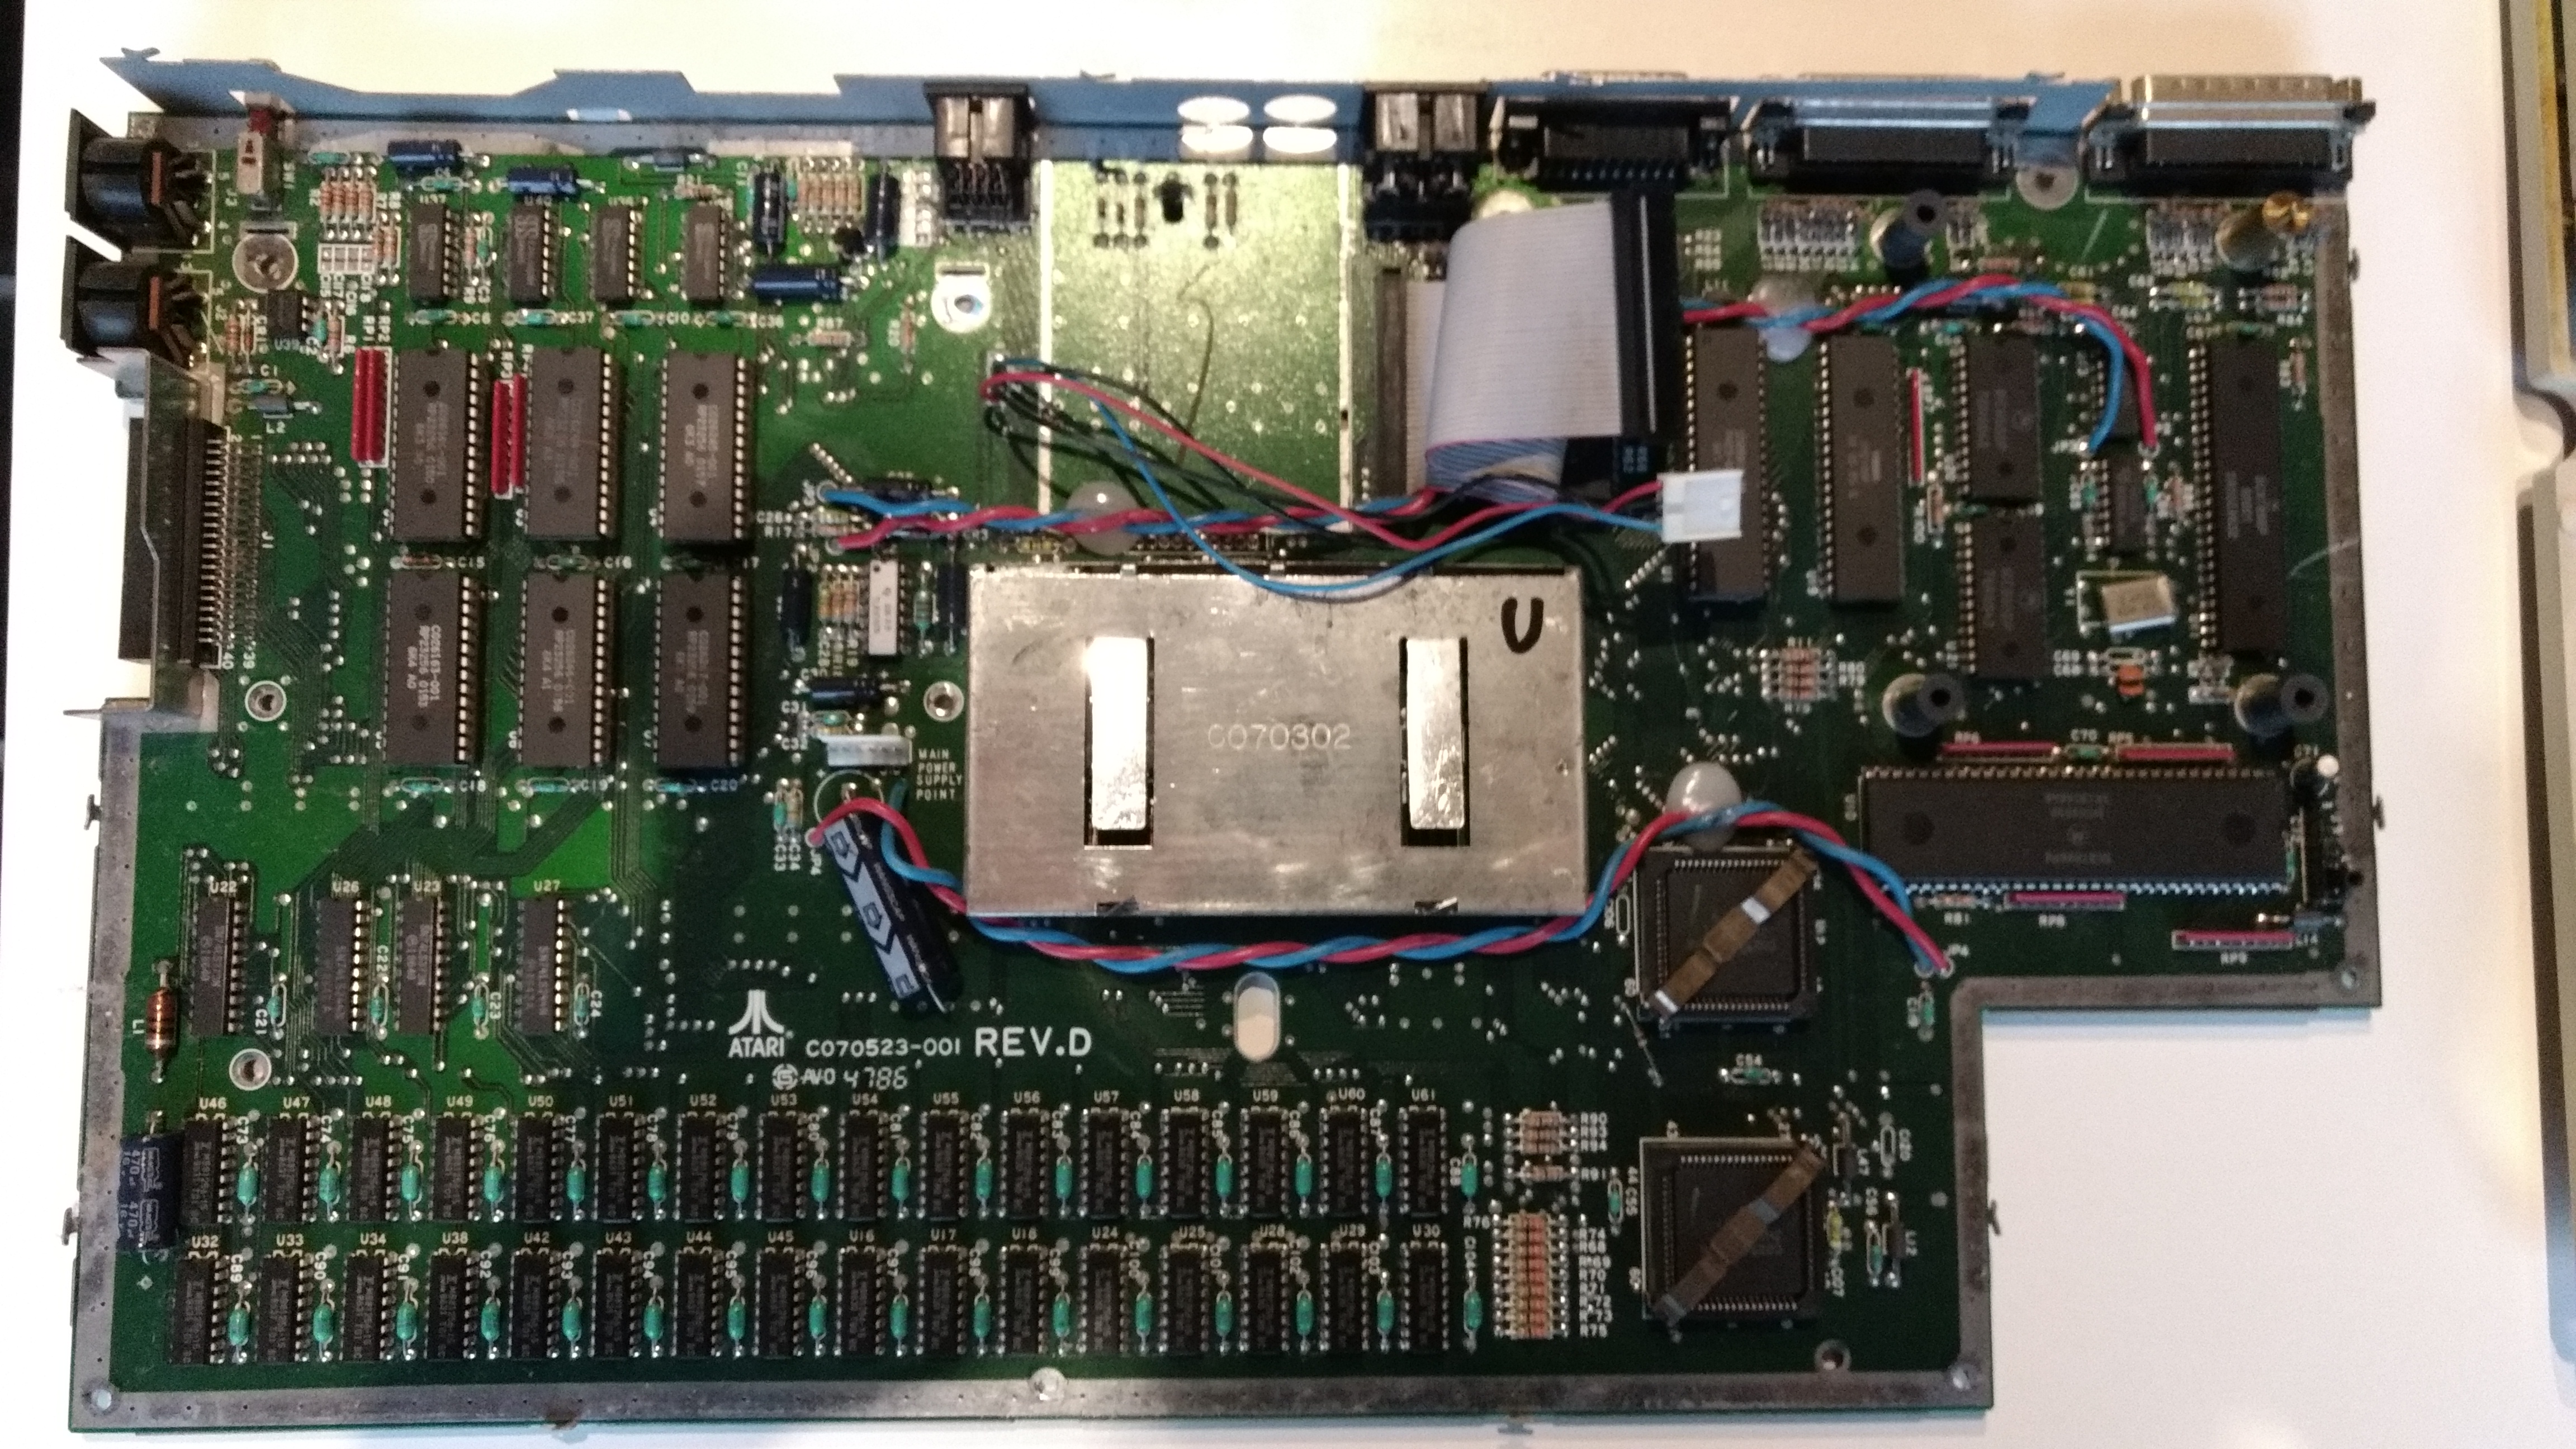
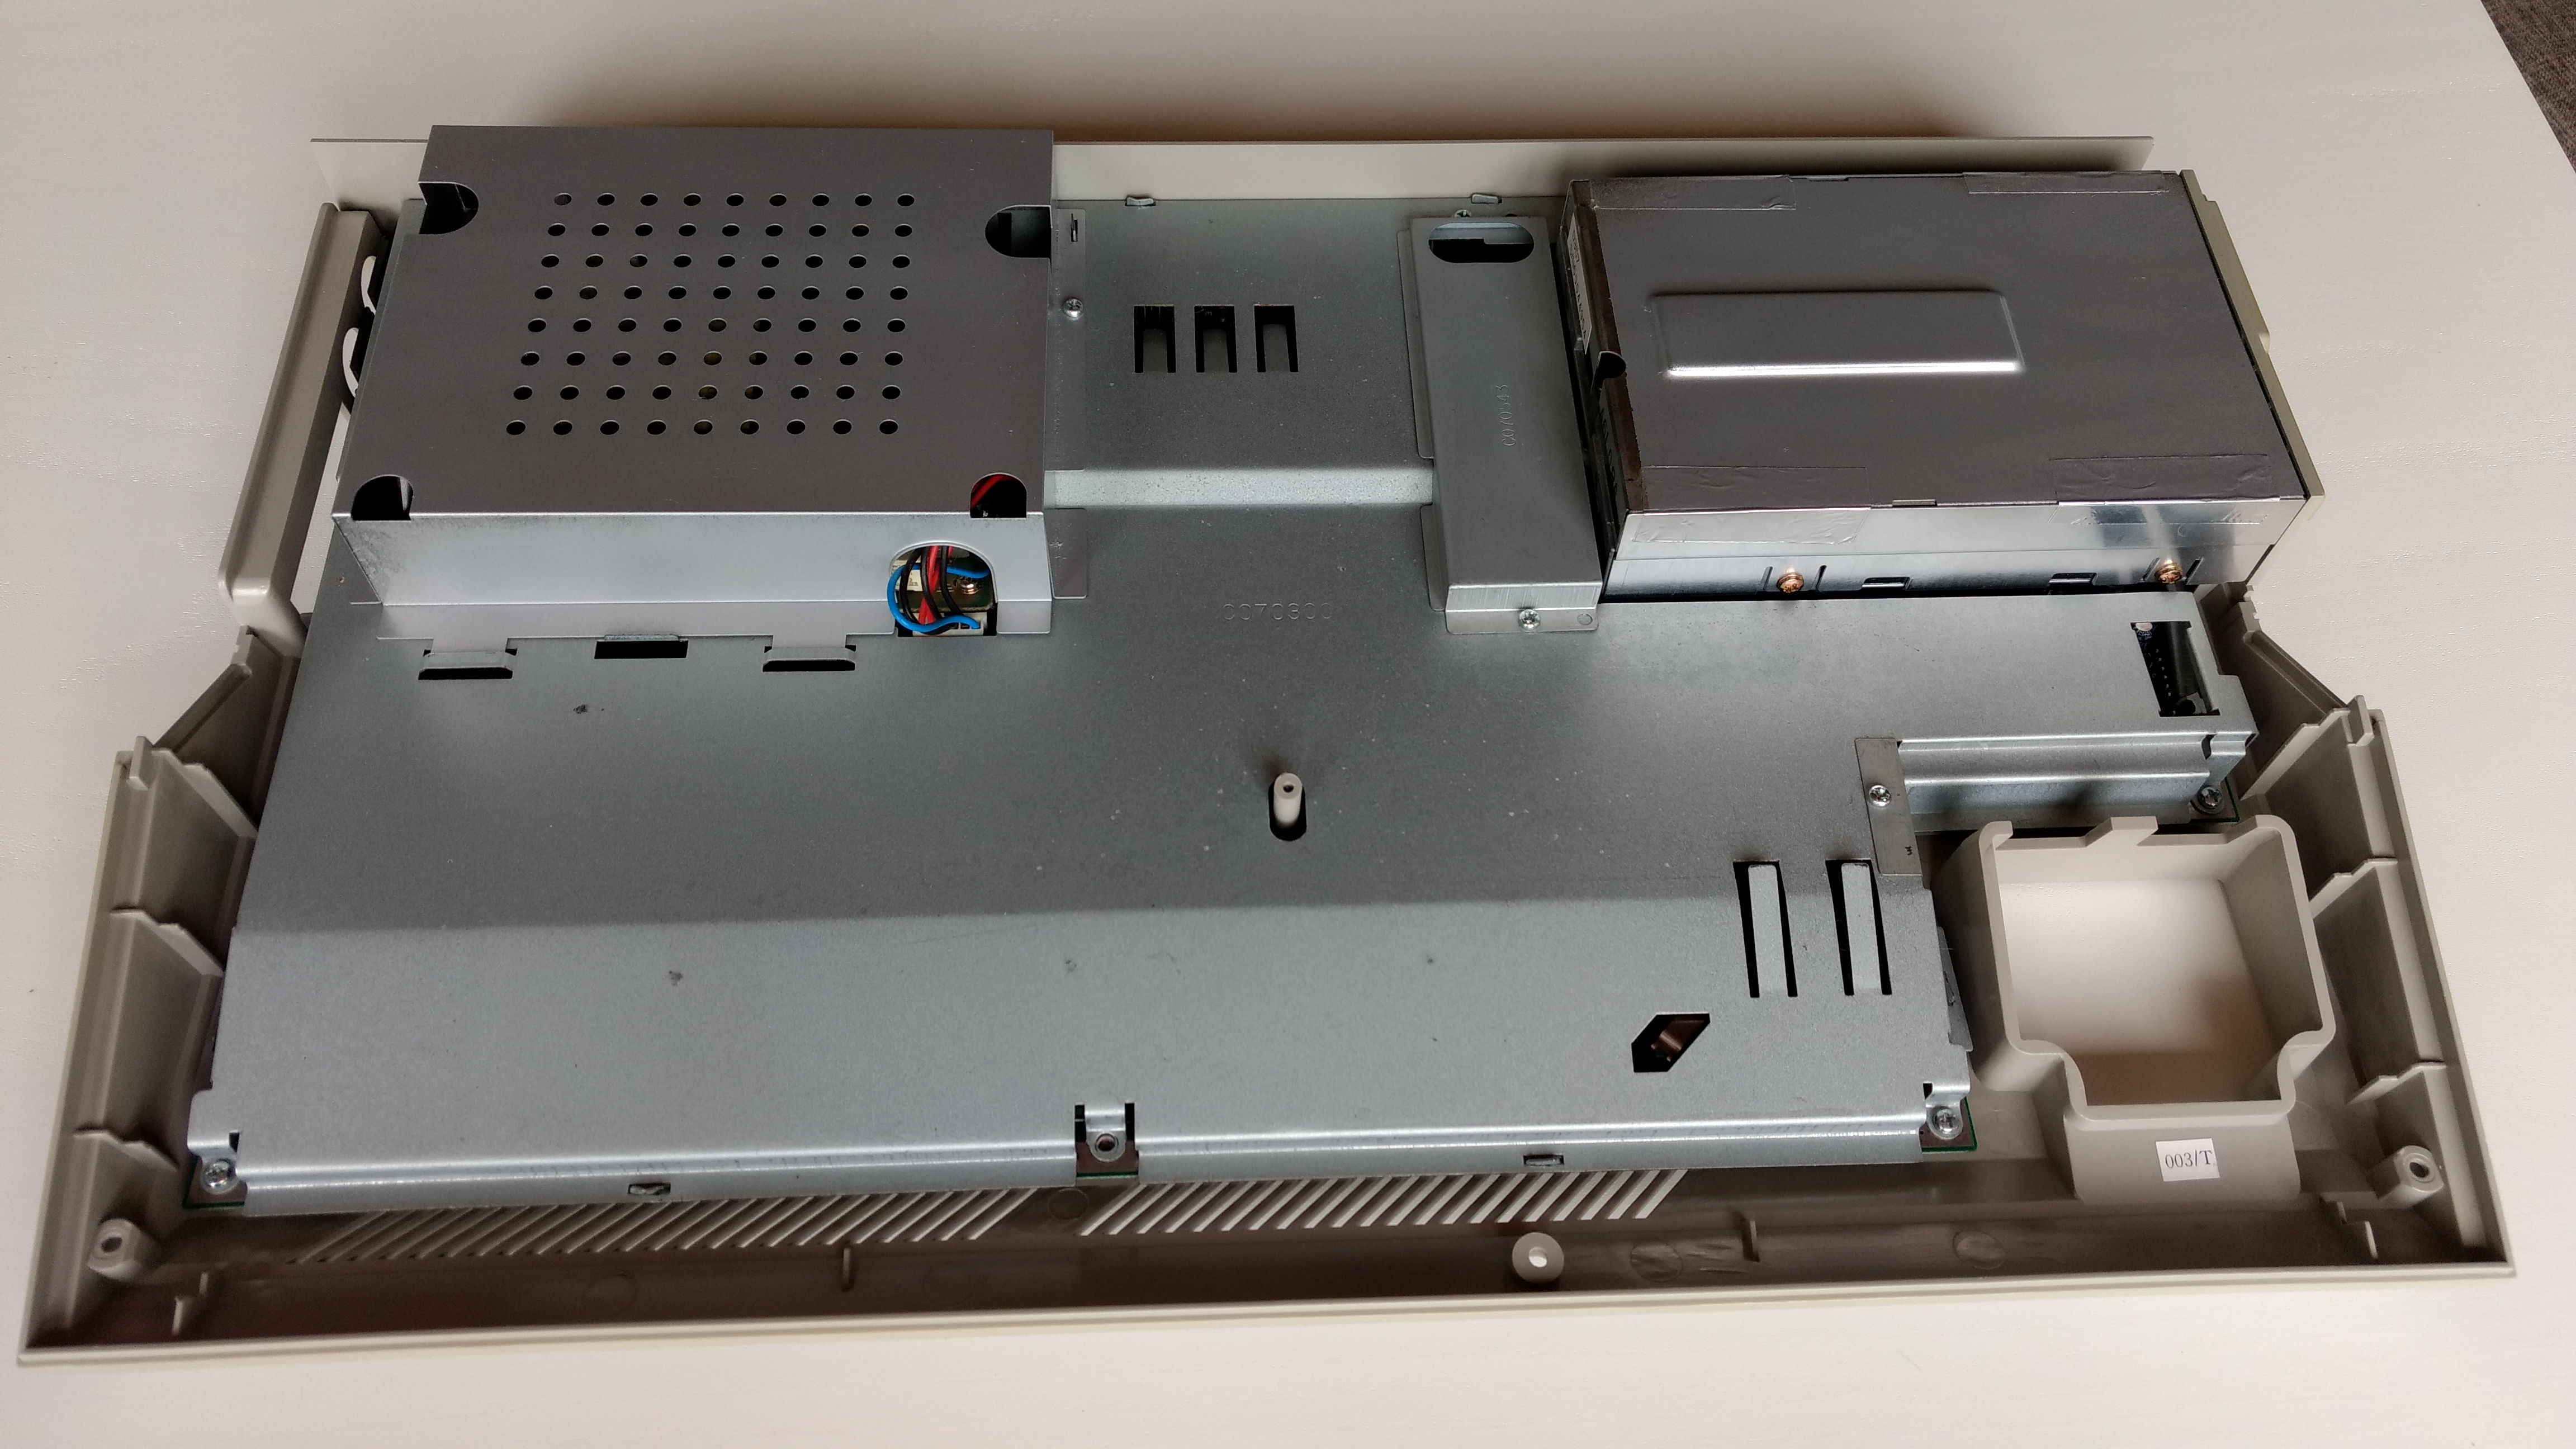
The main board. I never remove the bottom shield. I completely clean the board with some cotton sticks and rubbin alcohol.
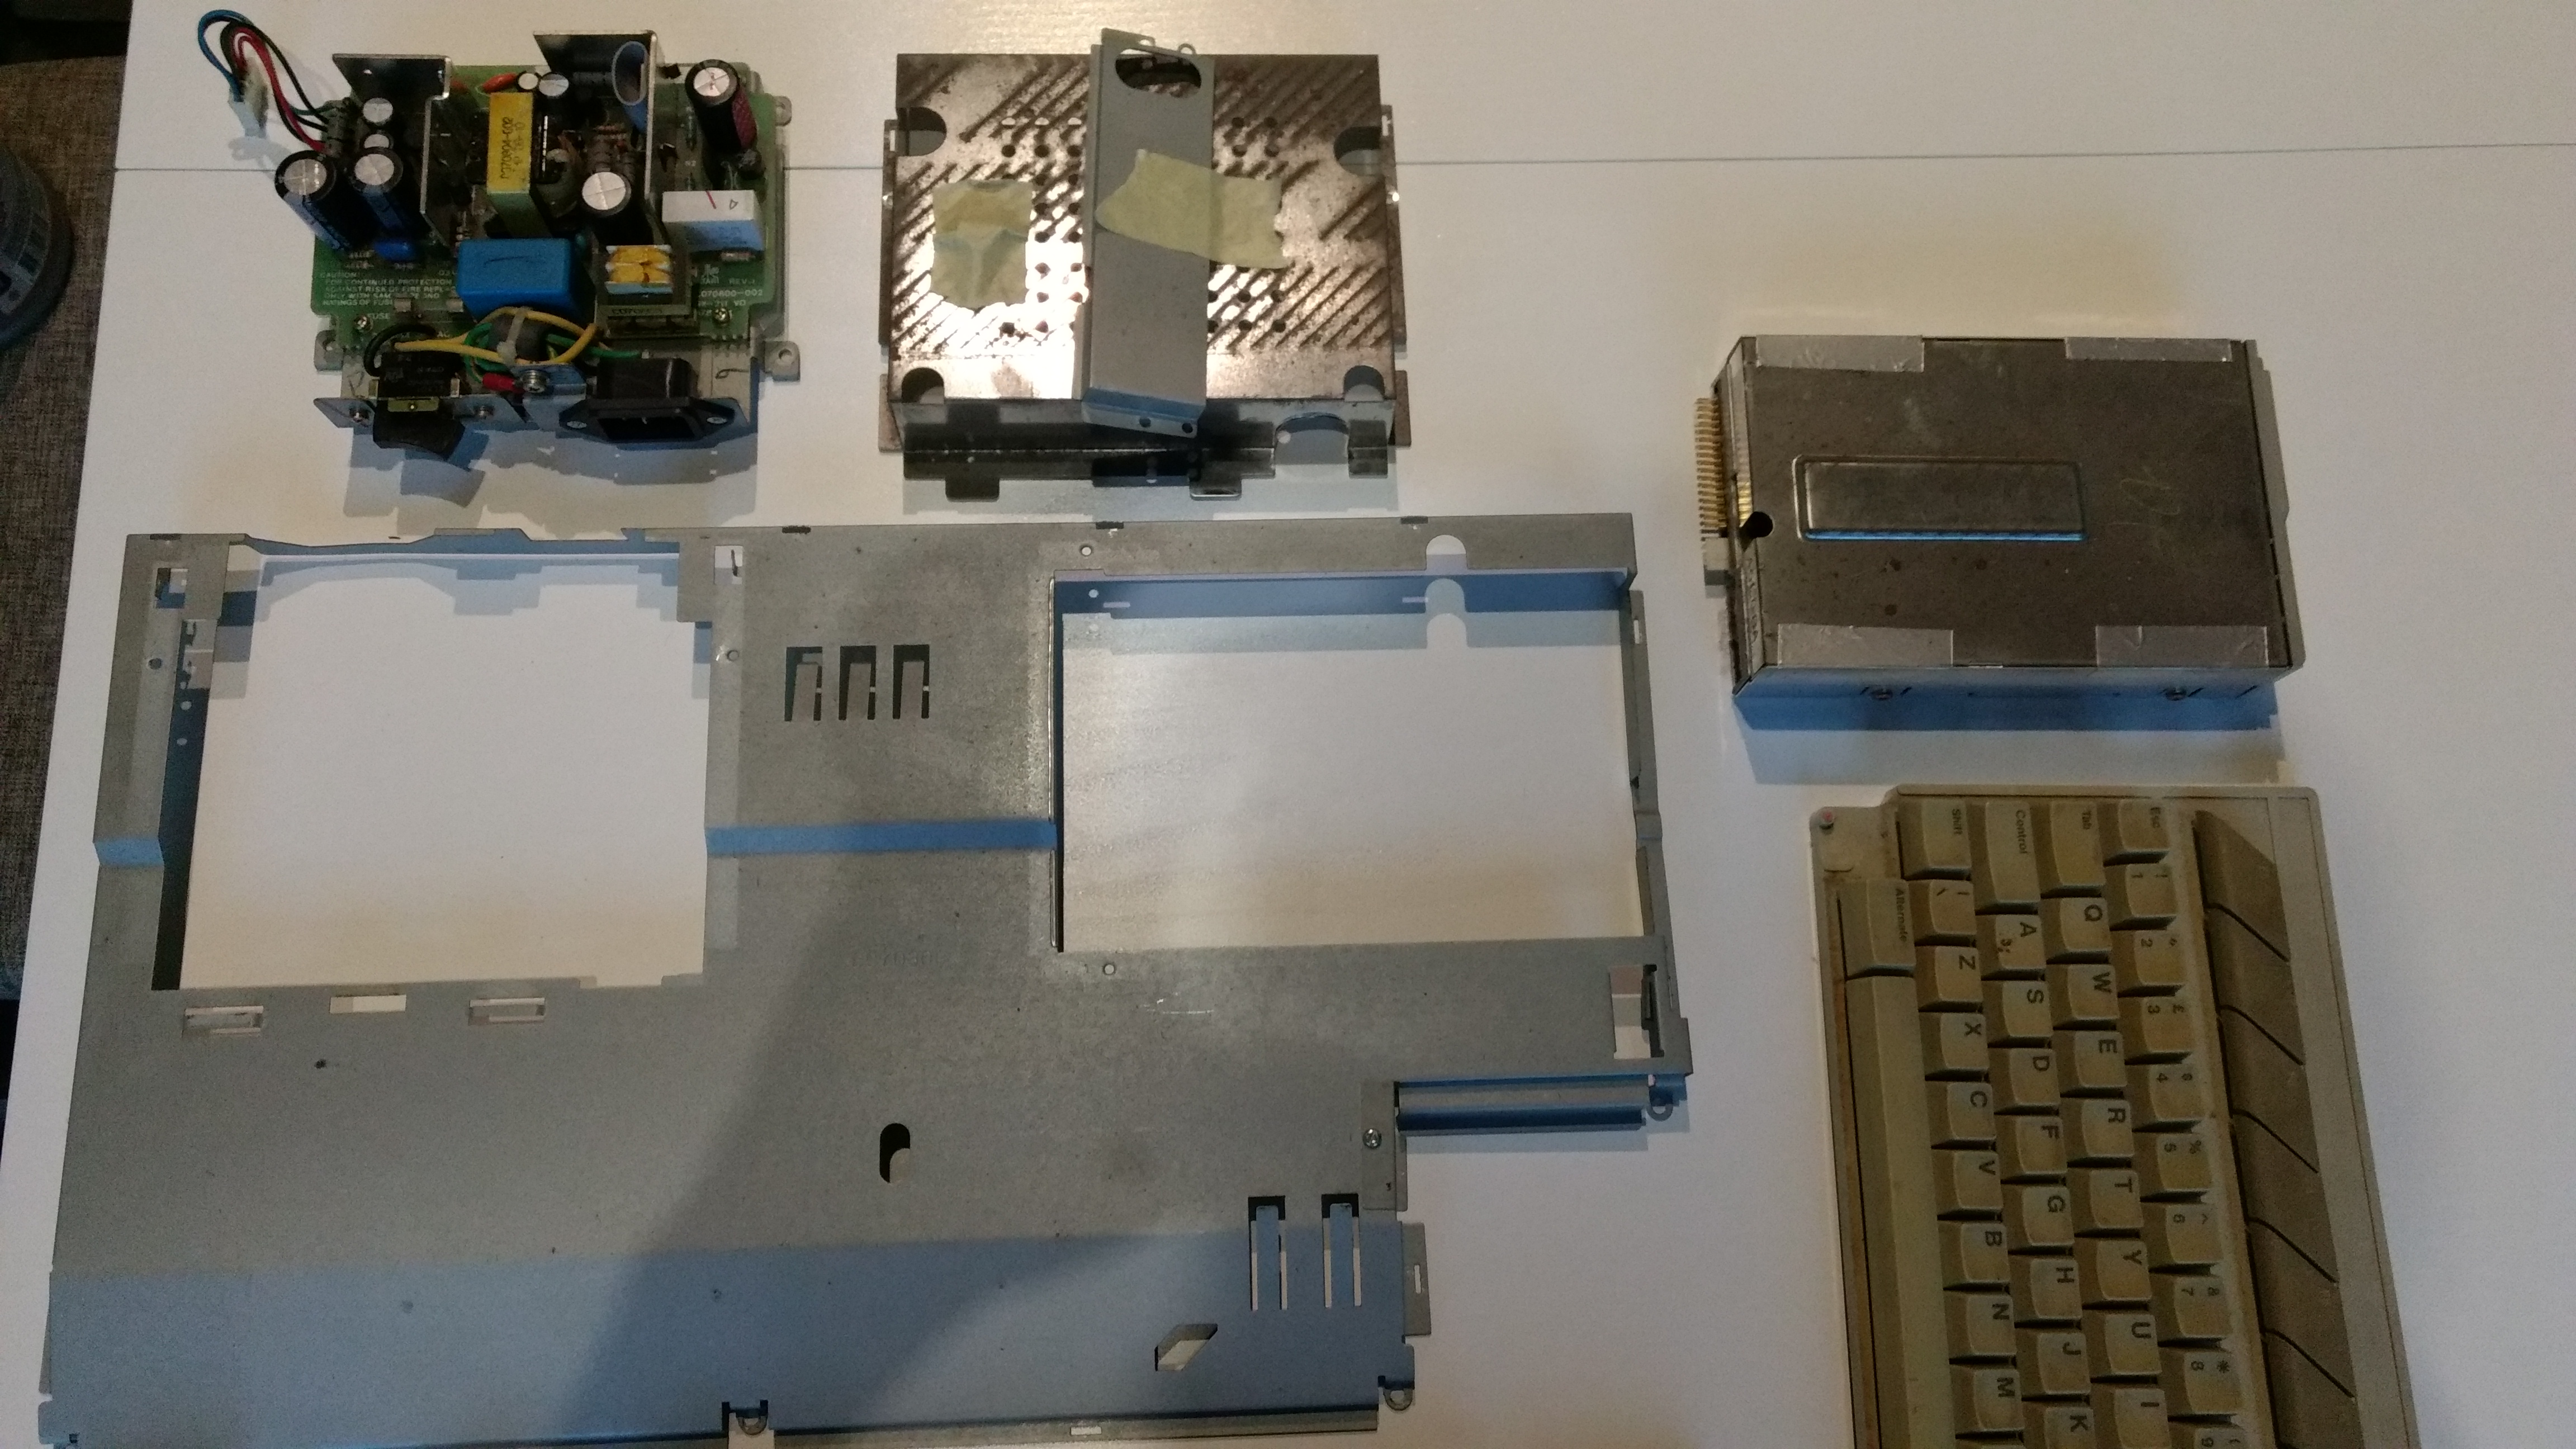
Power supply, shielding and the diskdrive...I might be doing a full recap on the powersupply soon, but it looks good for now.
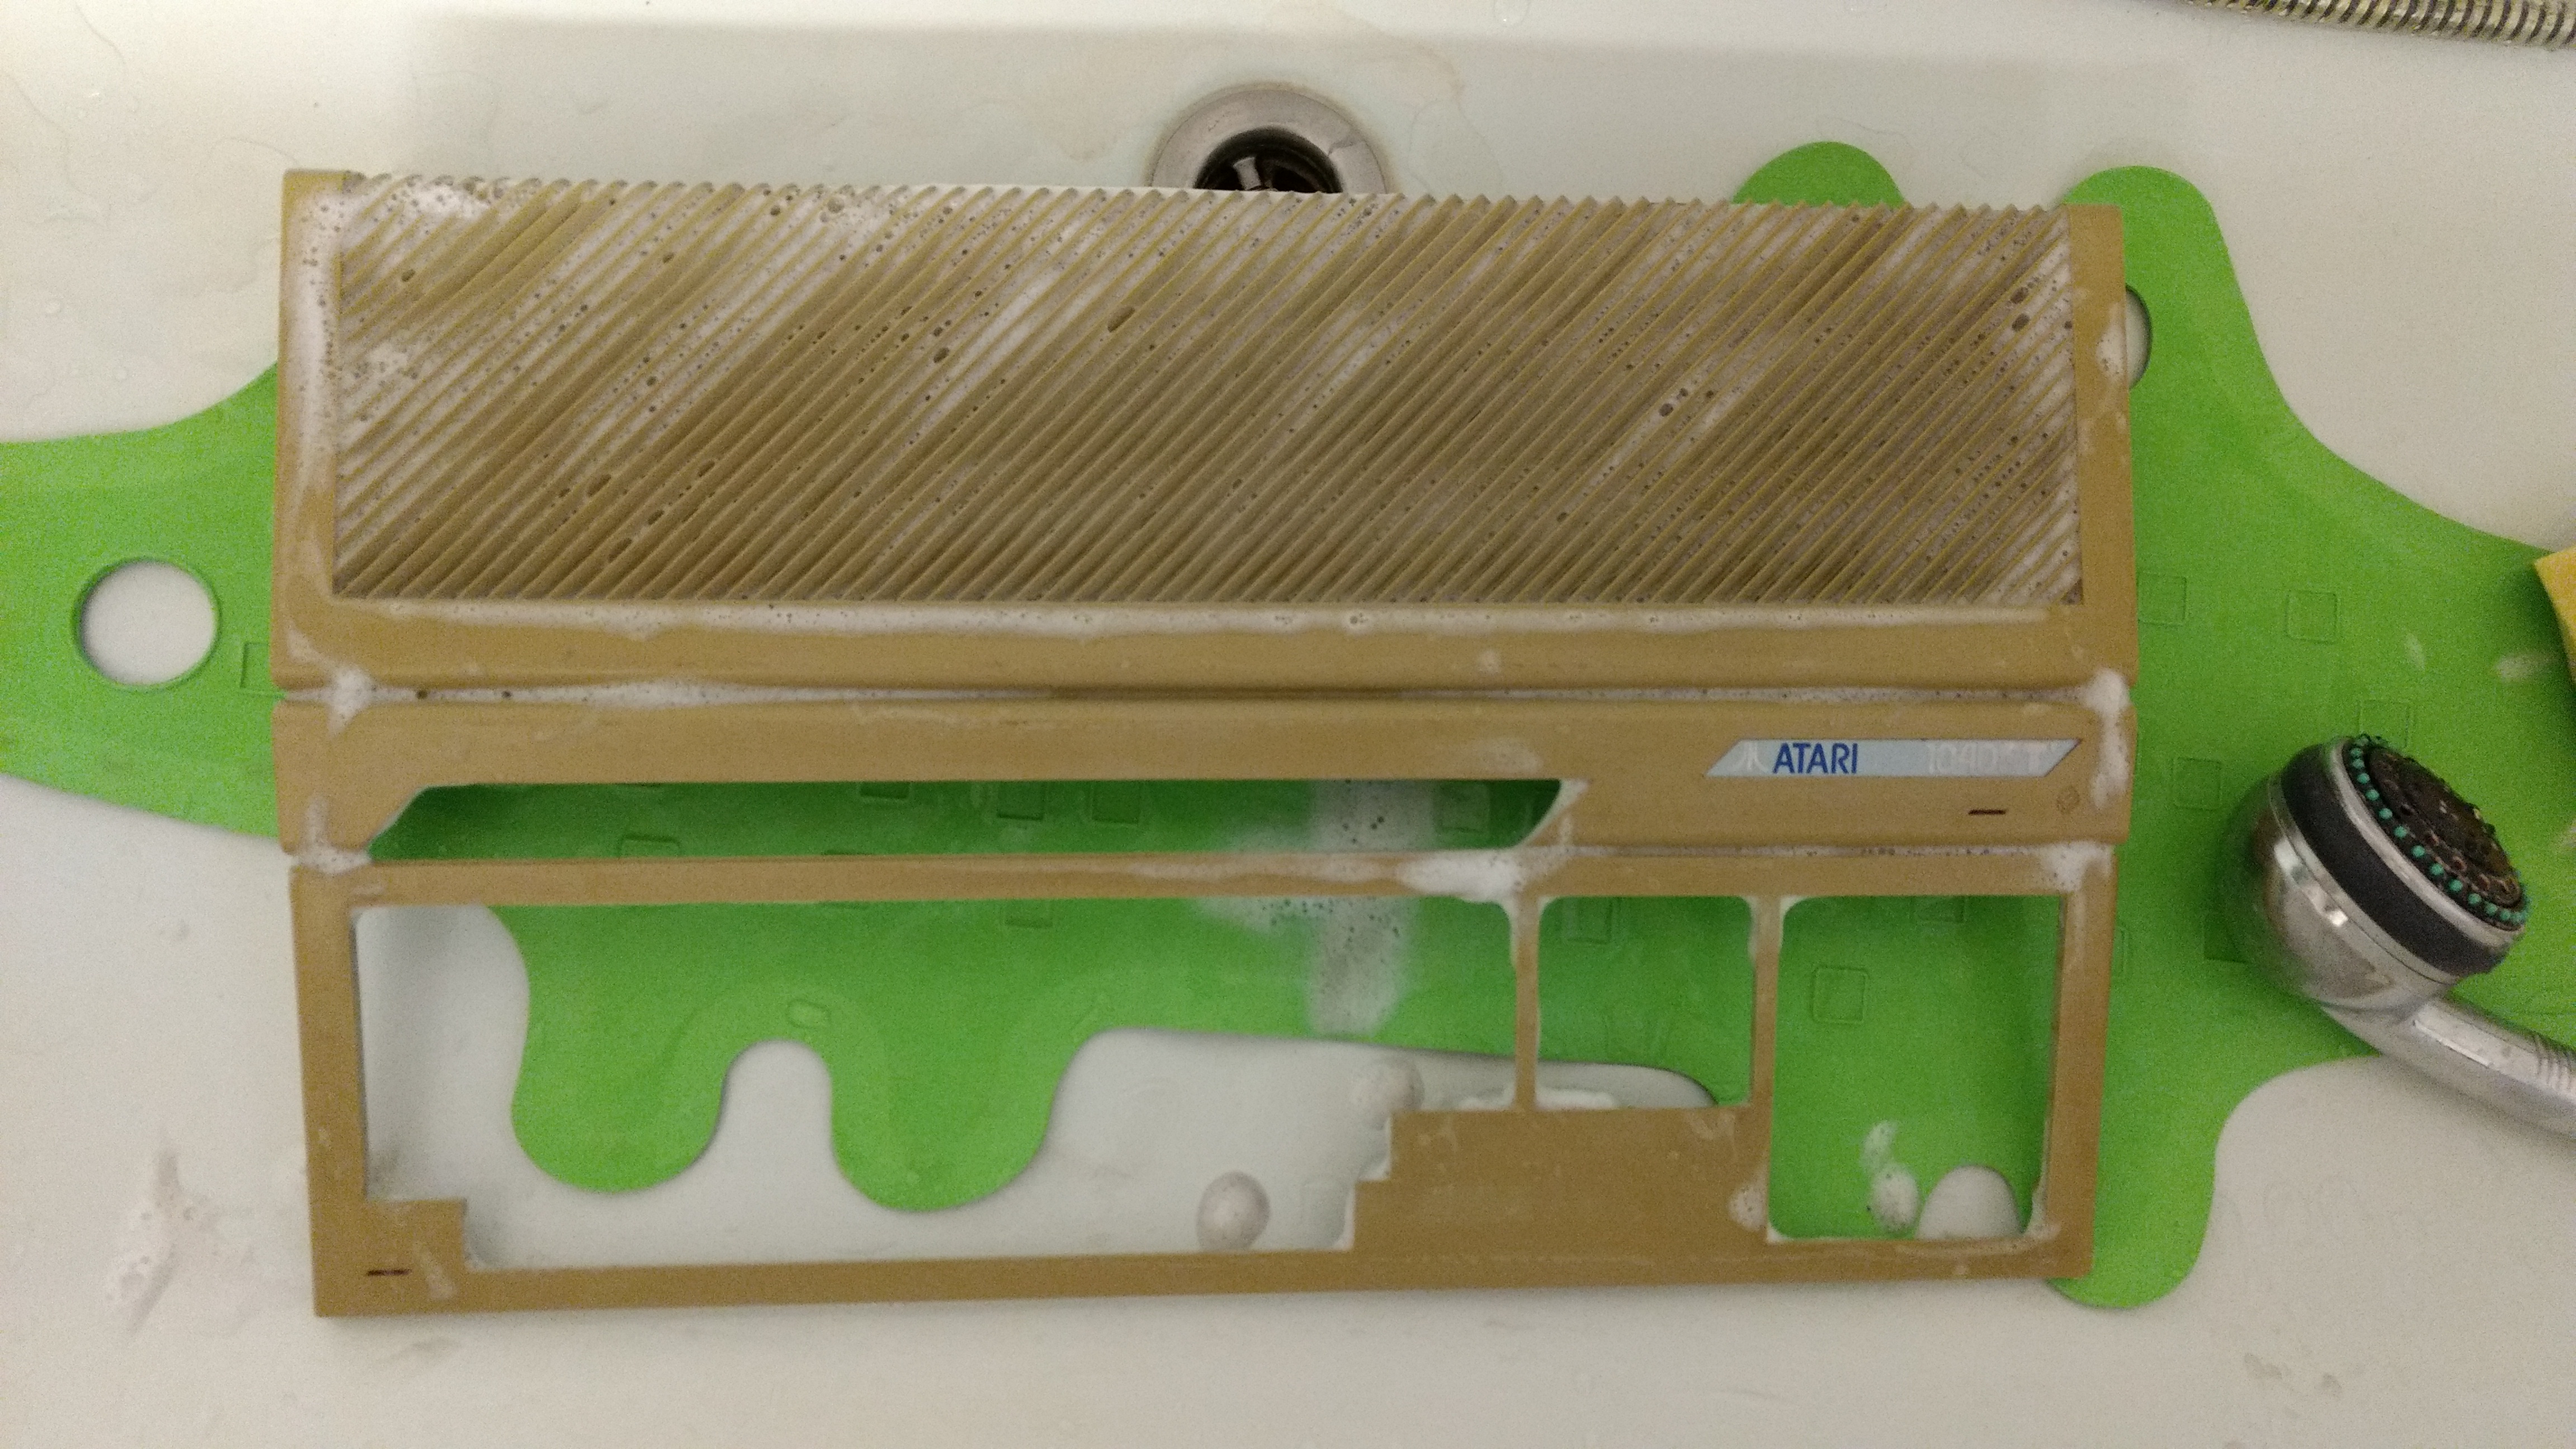
Let's give this computer a nice bath. Don't worry about the labels or stickers on the bottom, they all survive the complete process!
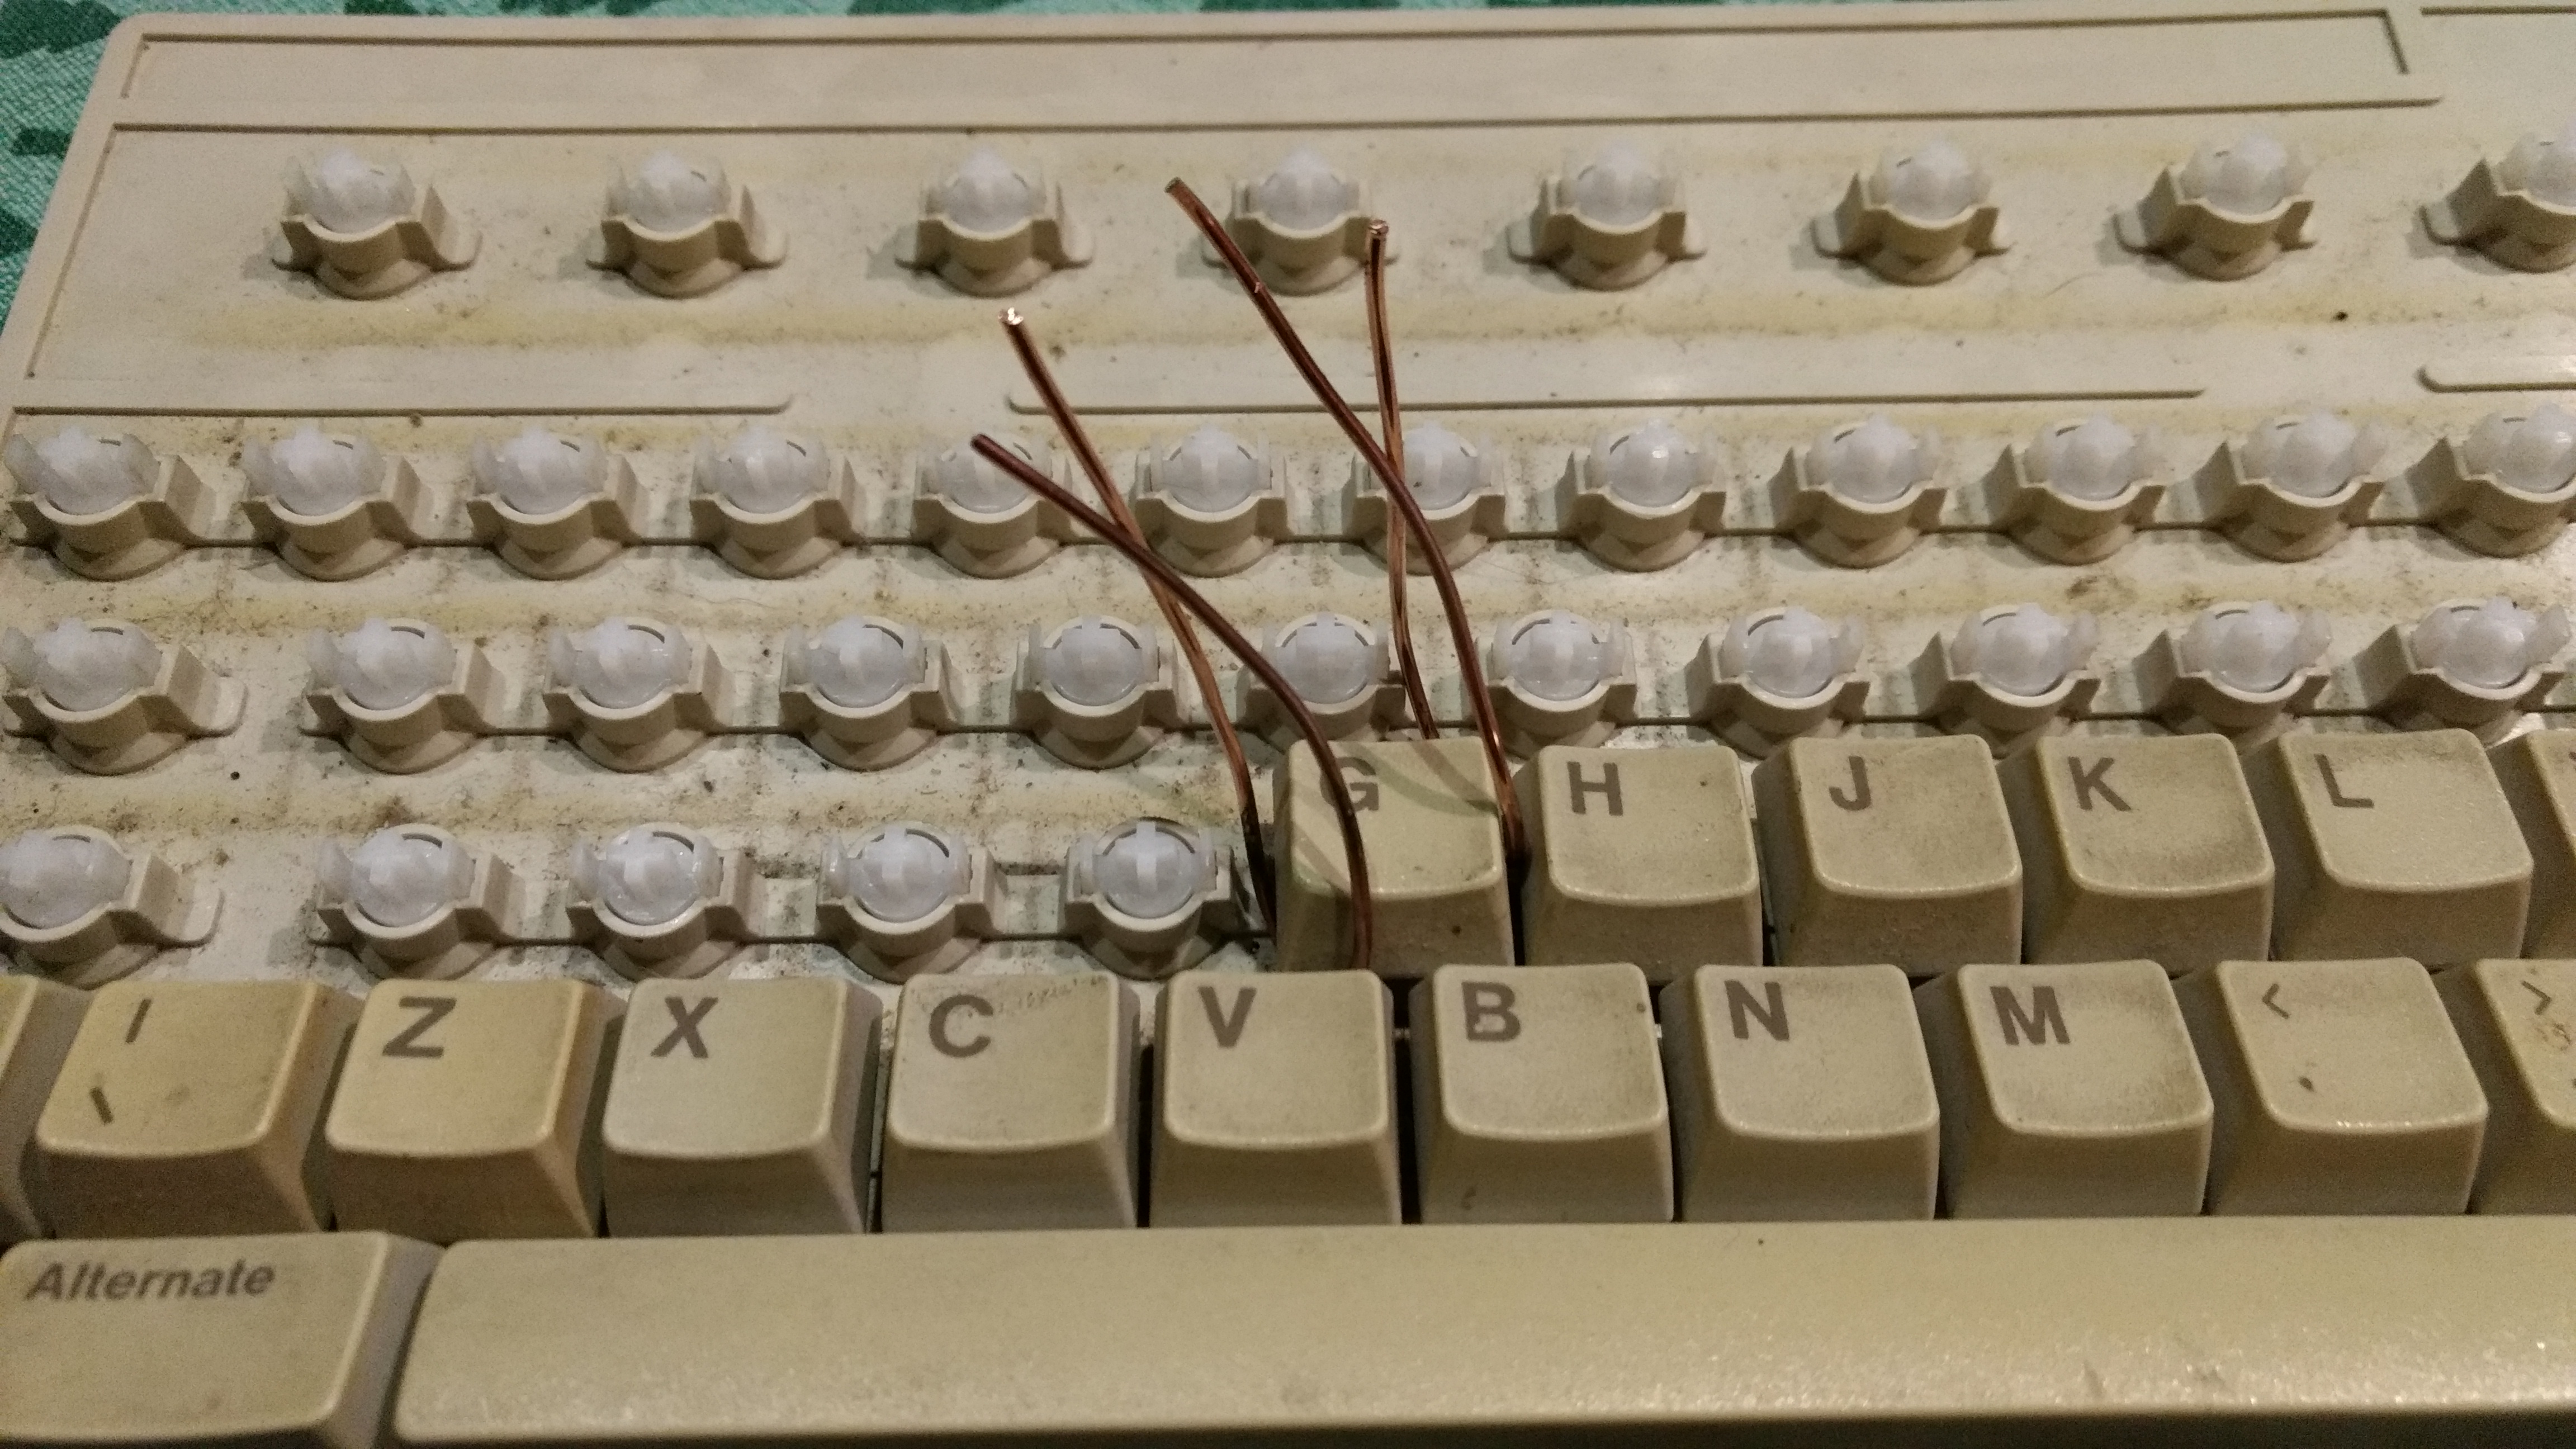
My home made keyboard puller. It actually works great. And look at all the dirt, so nasty!
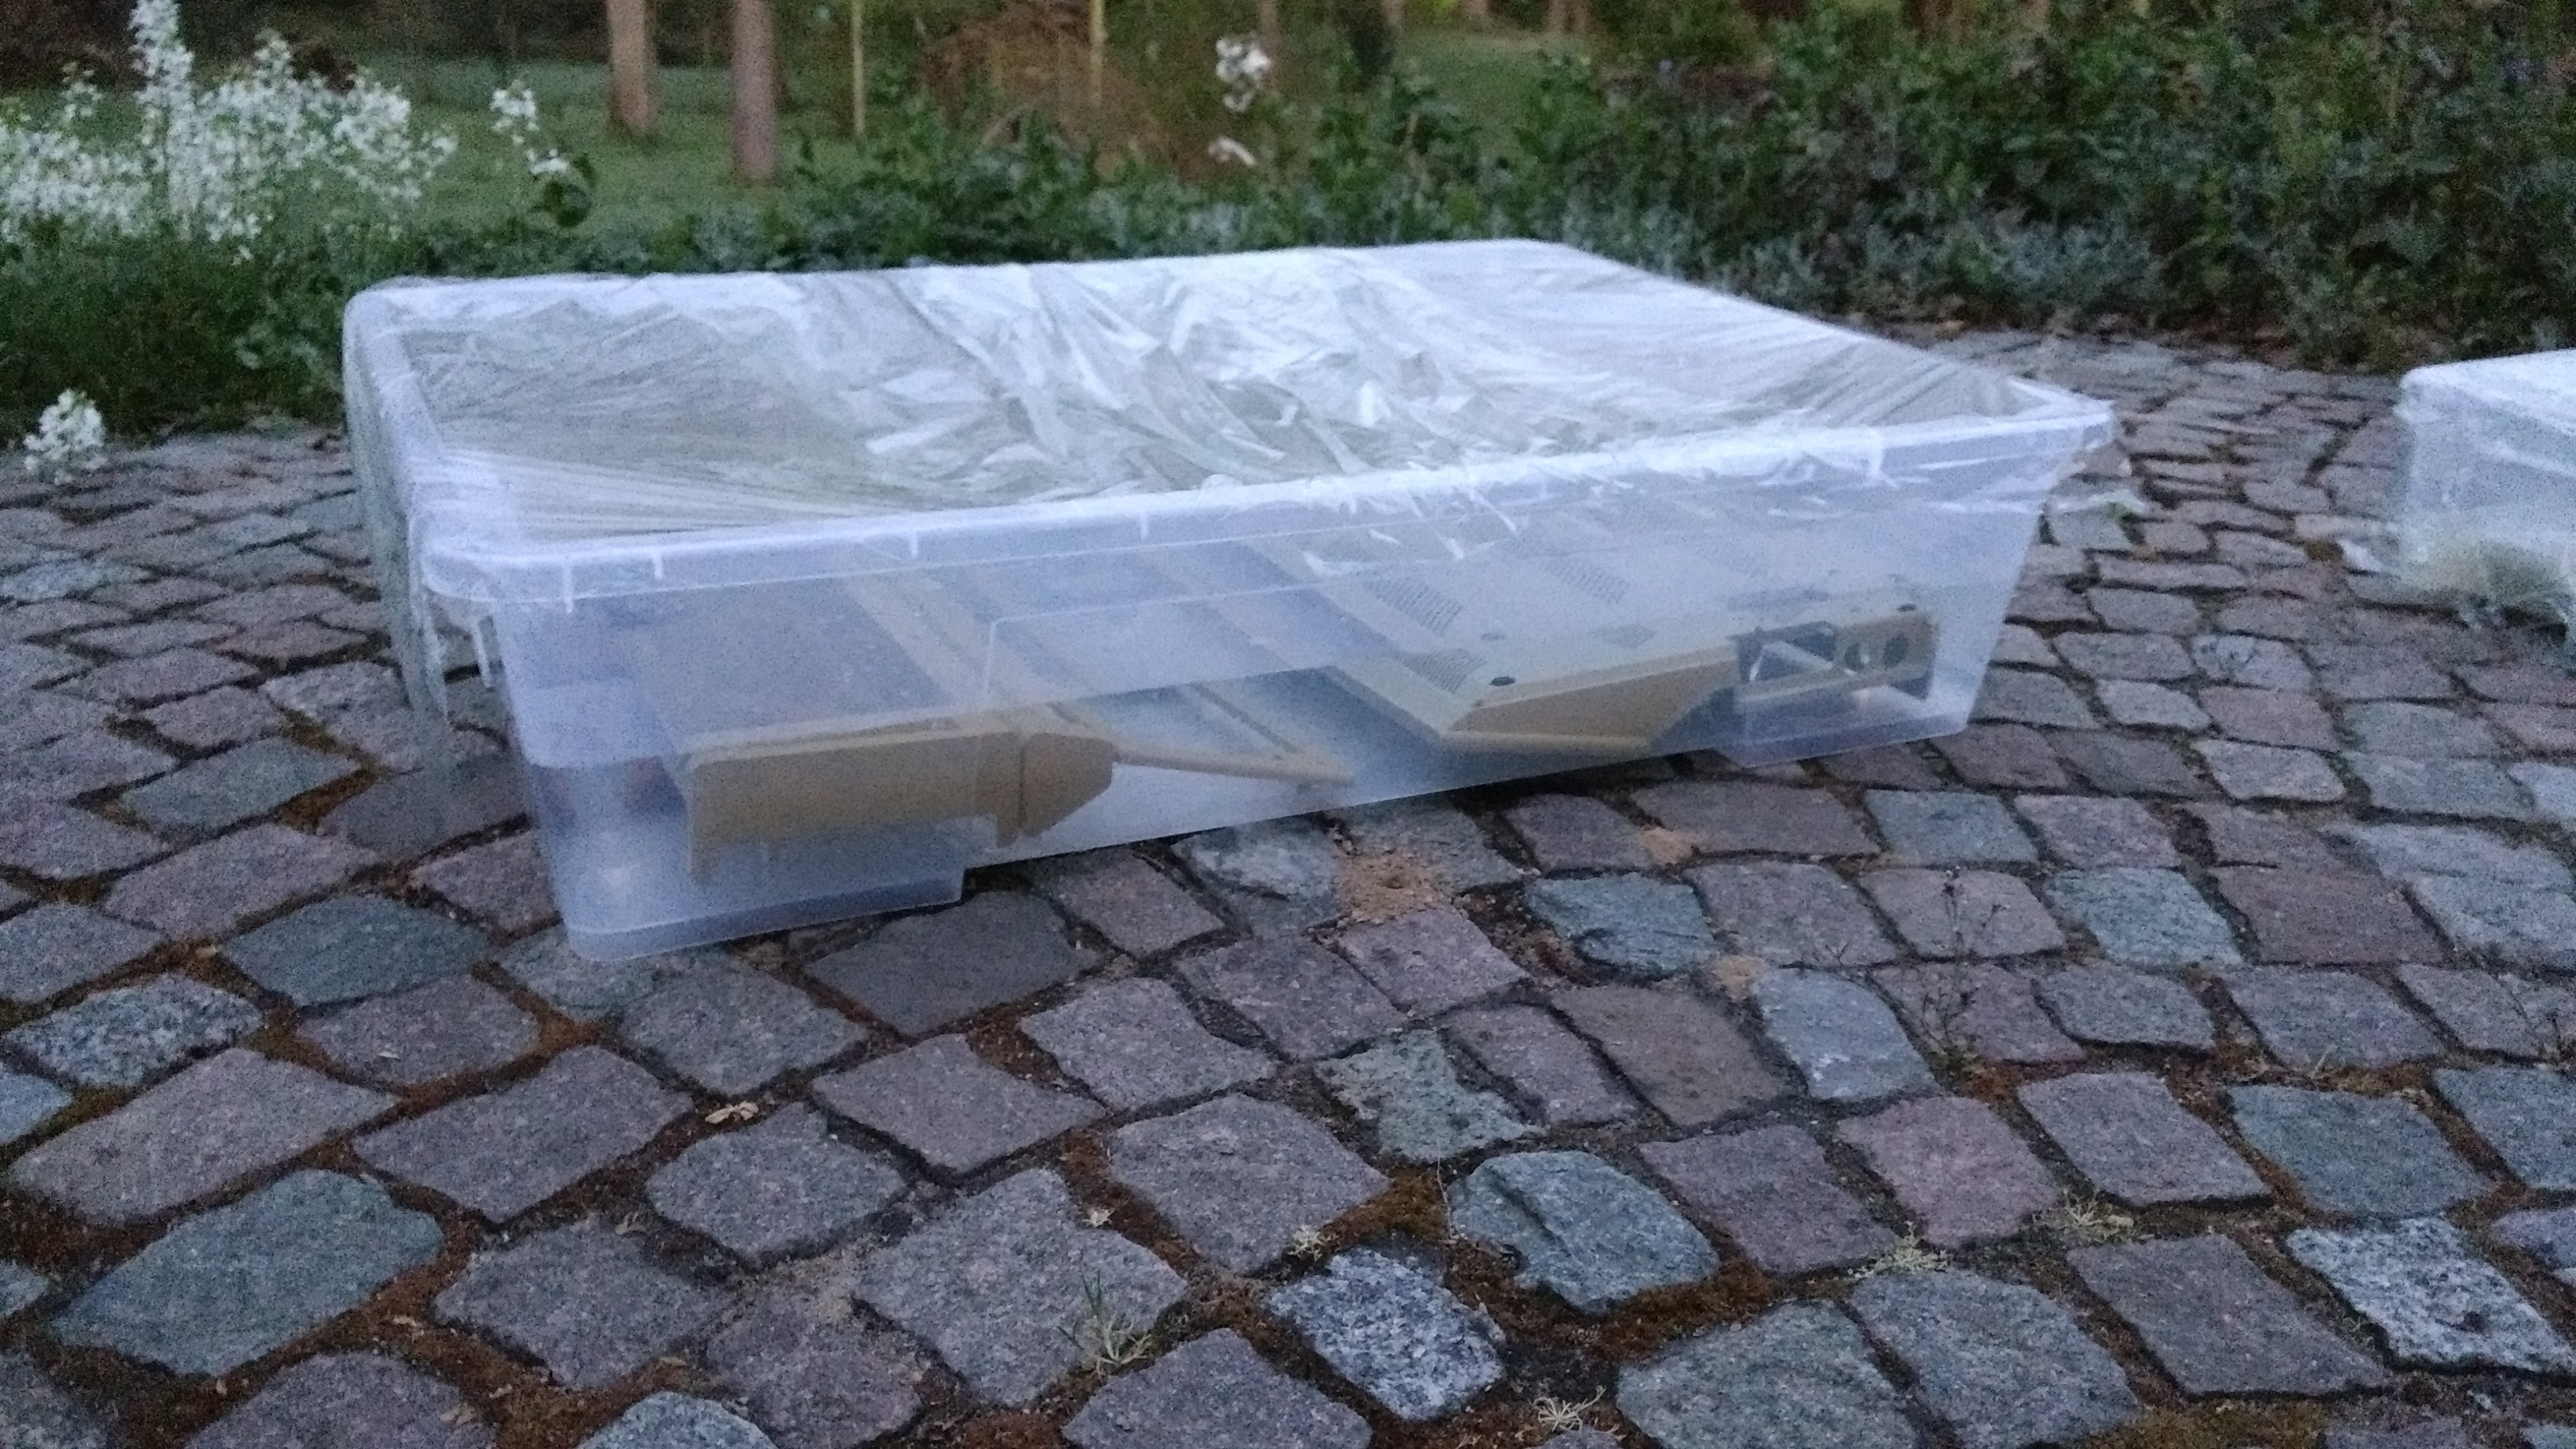
I started using plastic wrapping to cover the box, but in the end I just used the container lit, which is perfect. Make sure the case is completely in the mixture.
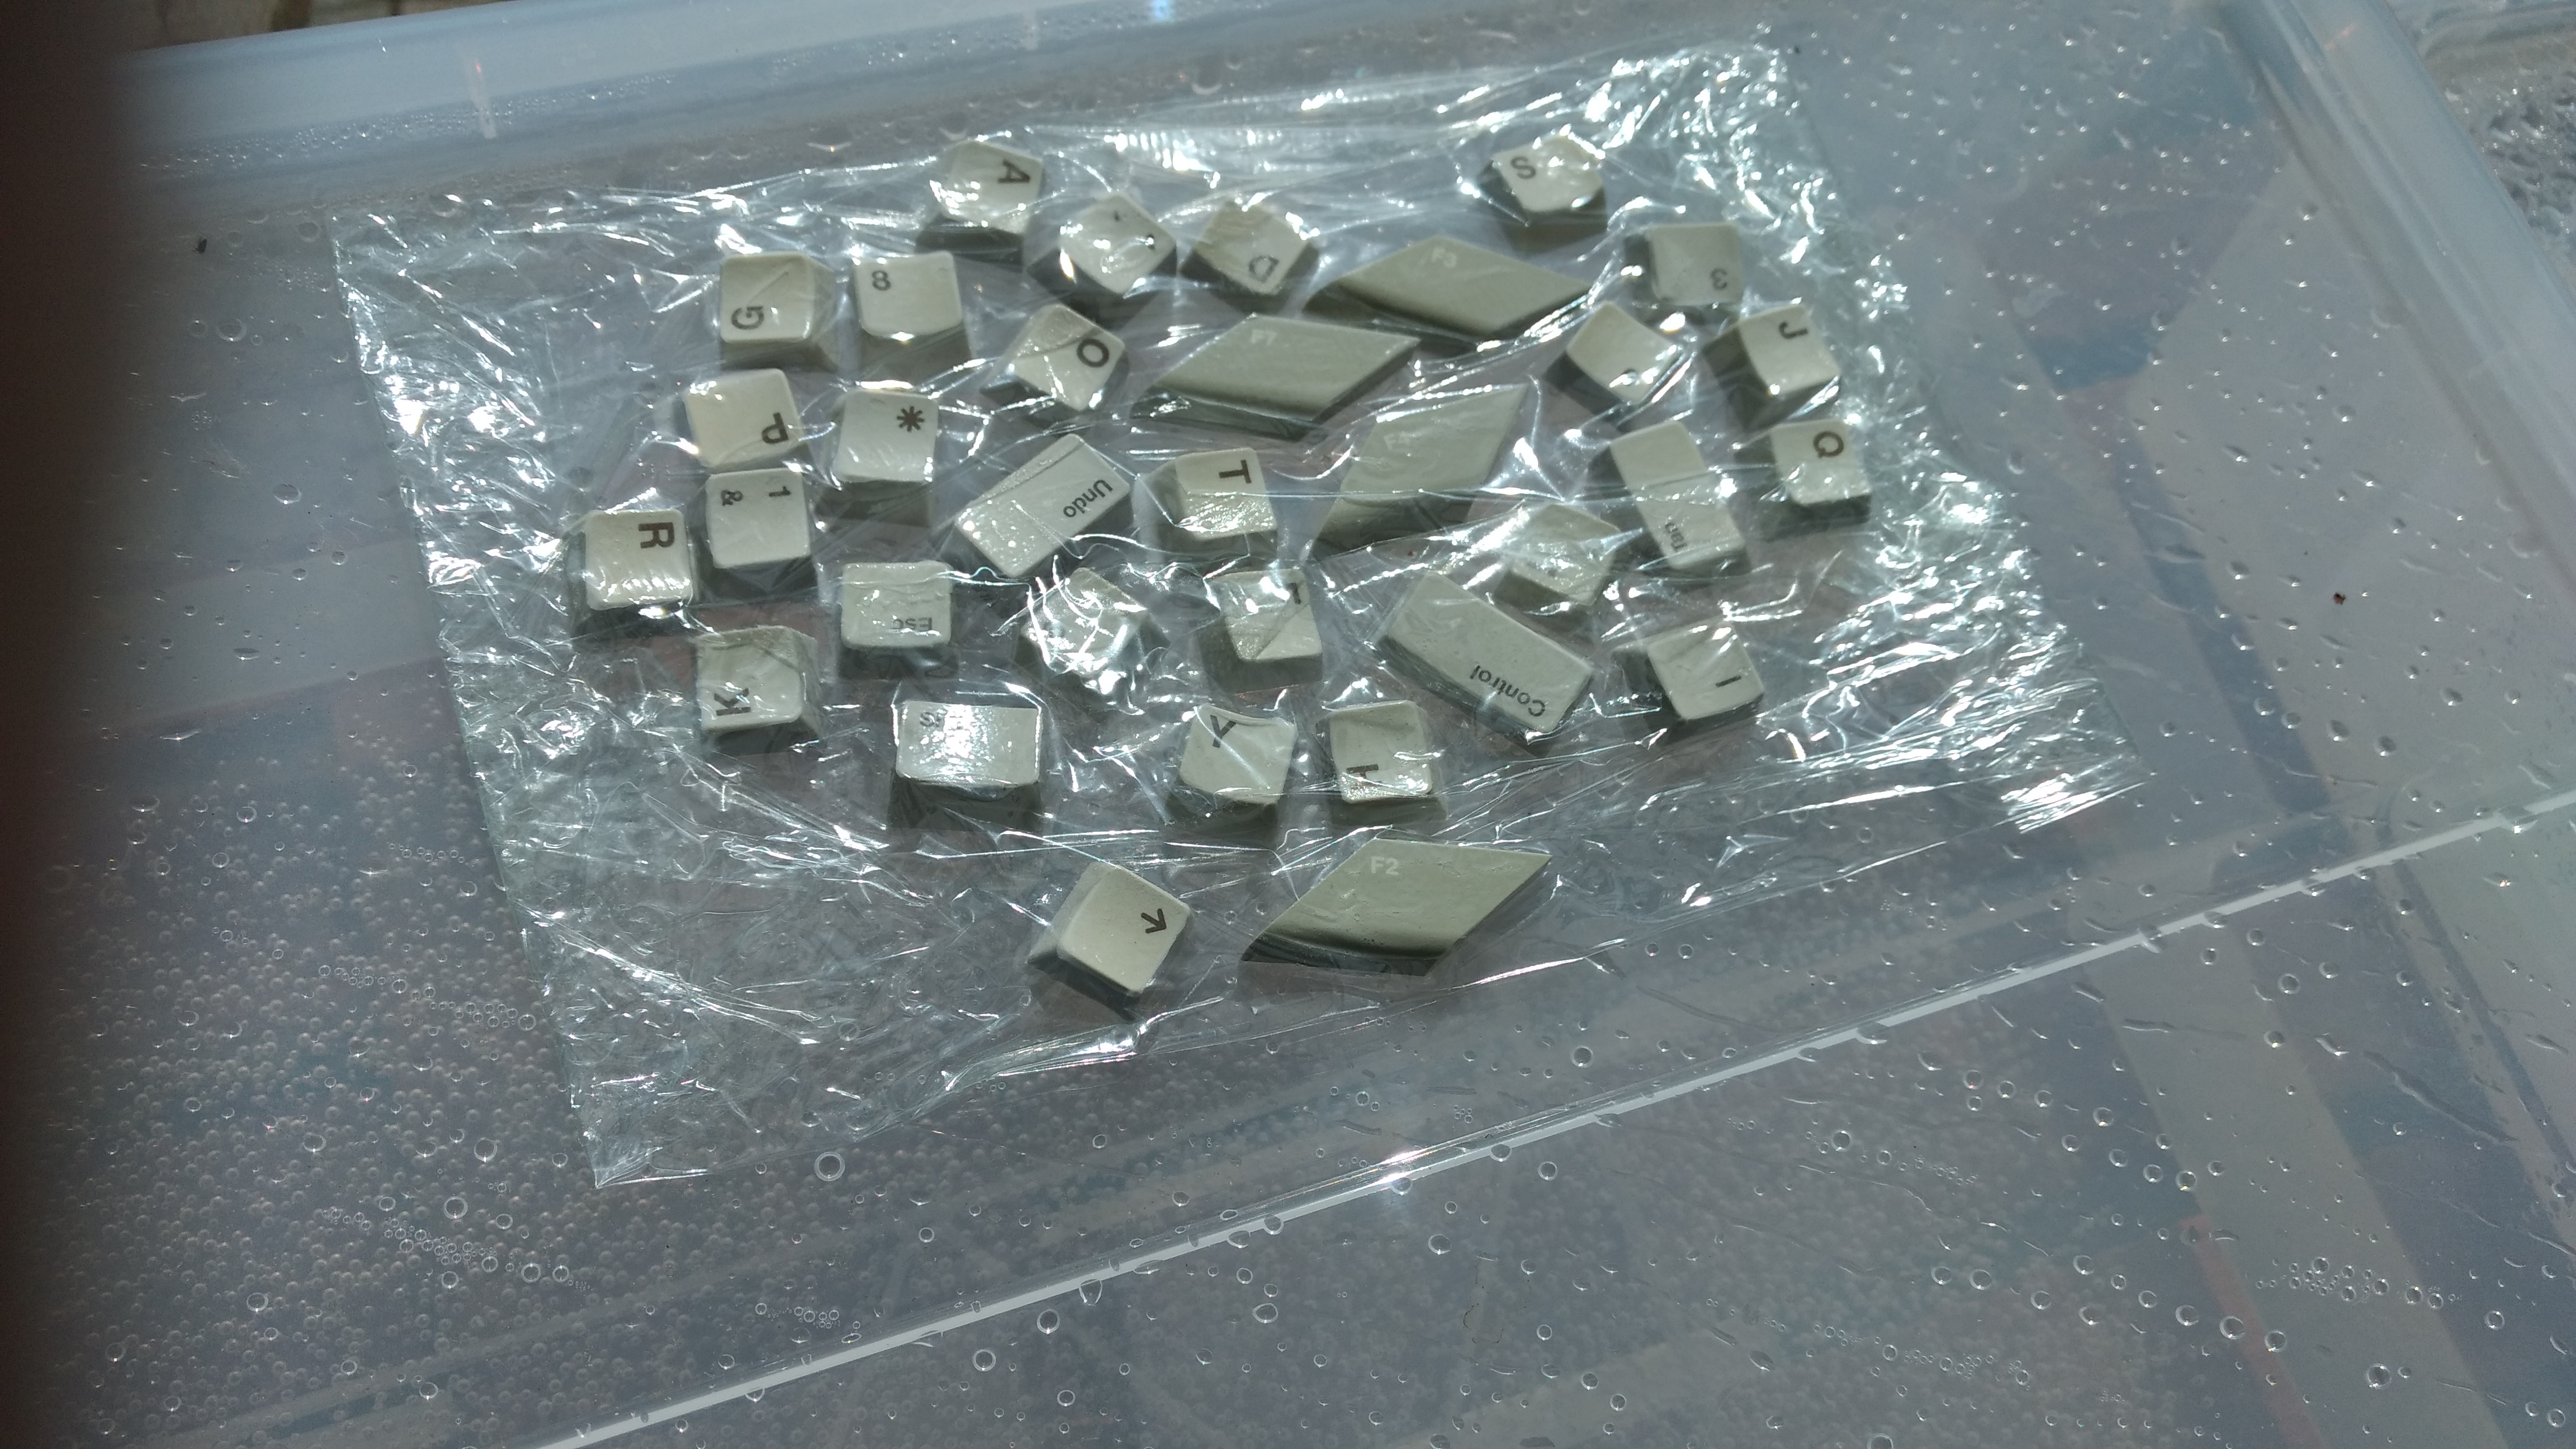
The keys are getting an extra creamy treatment
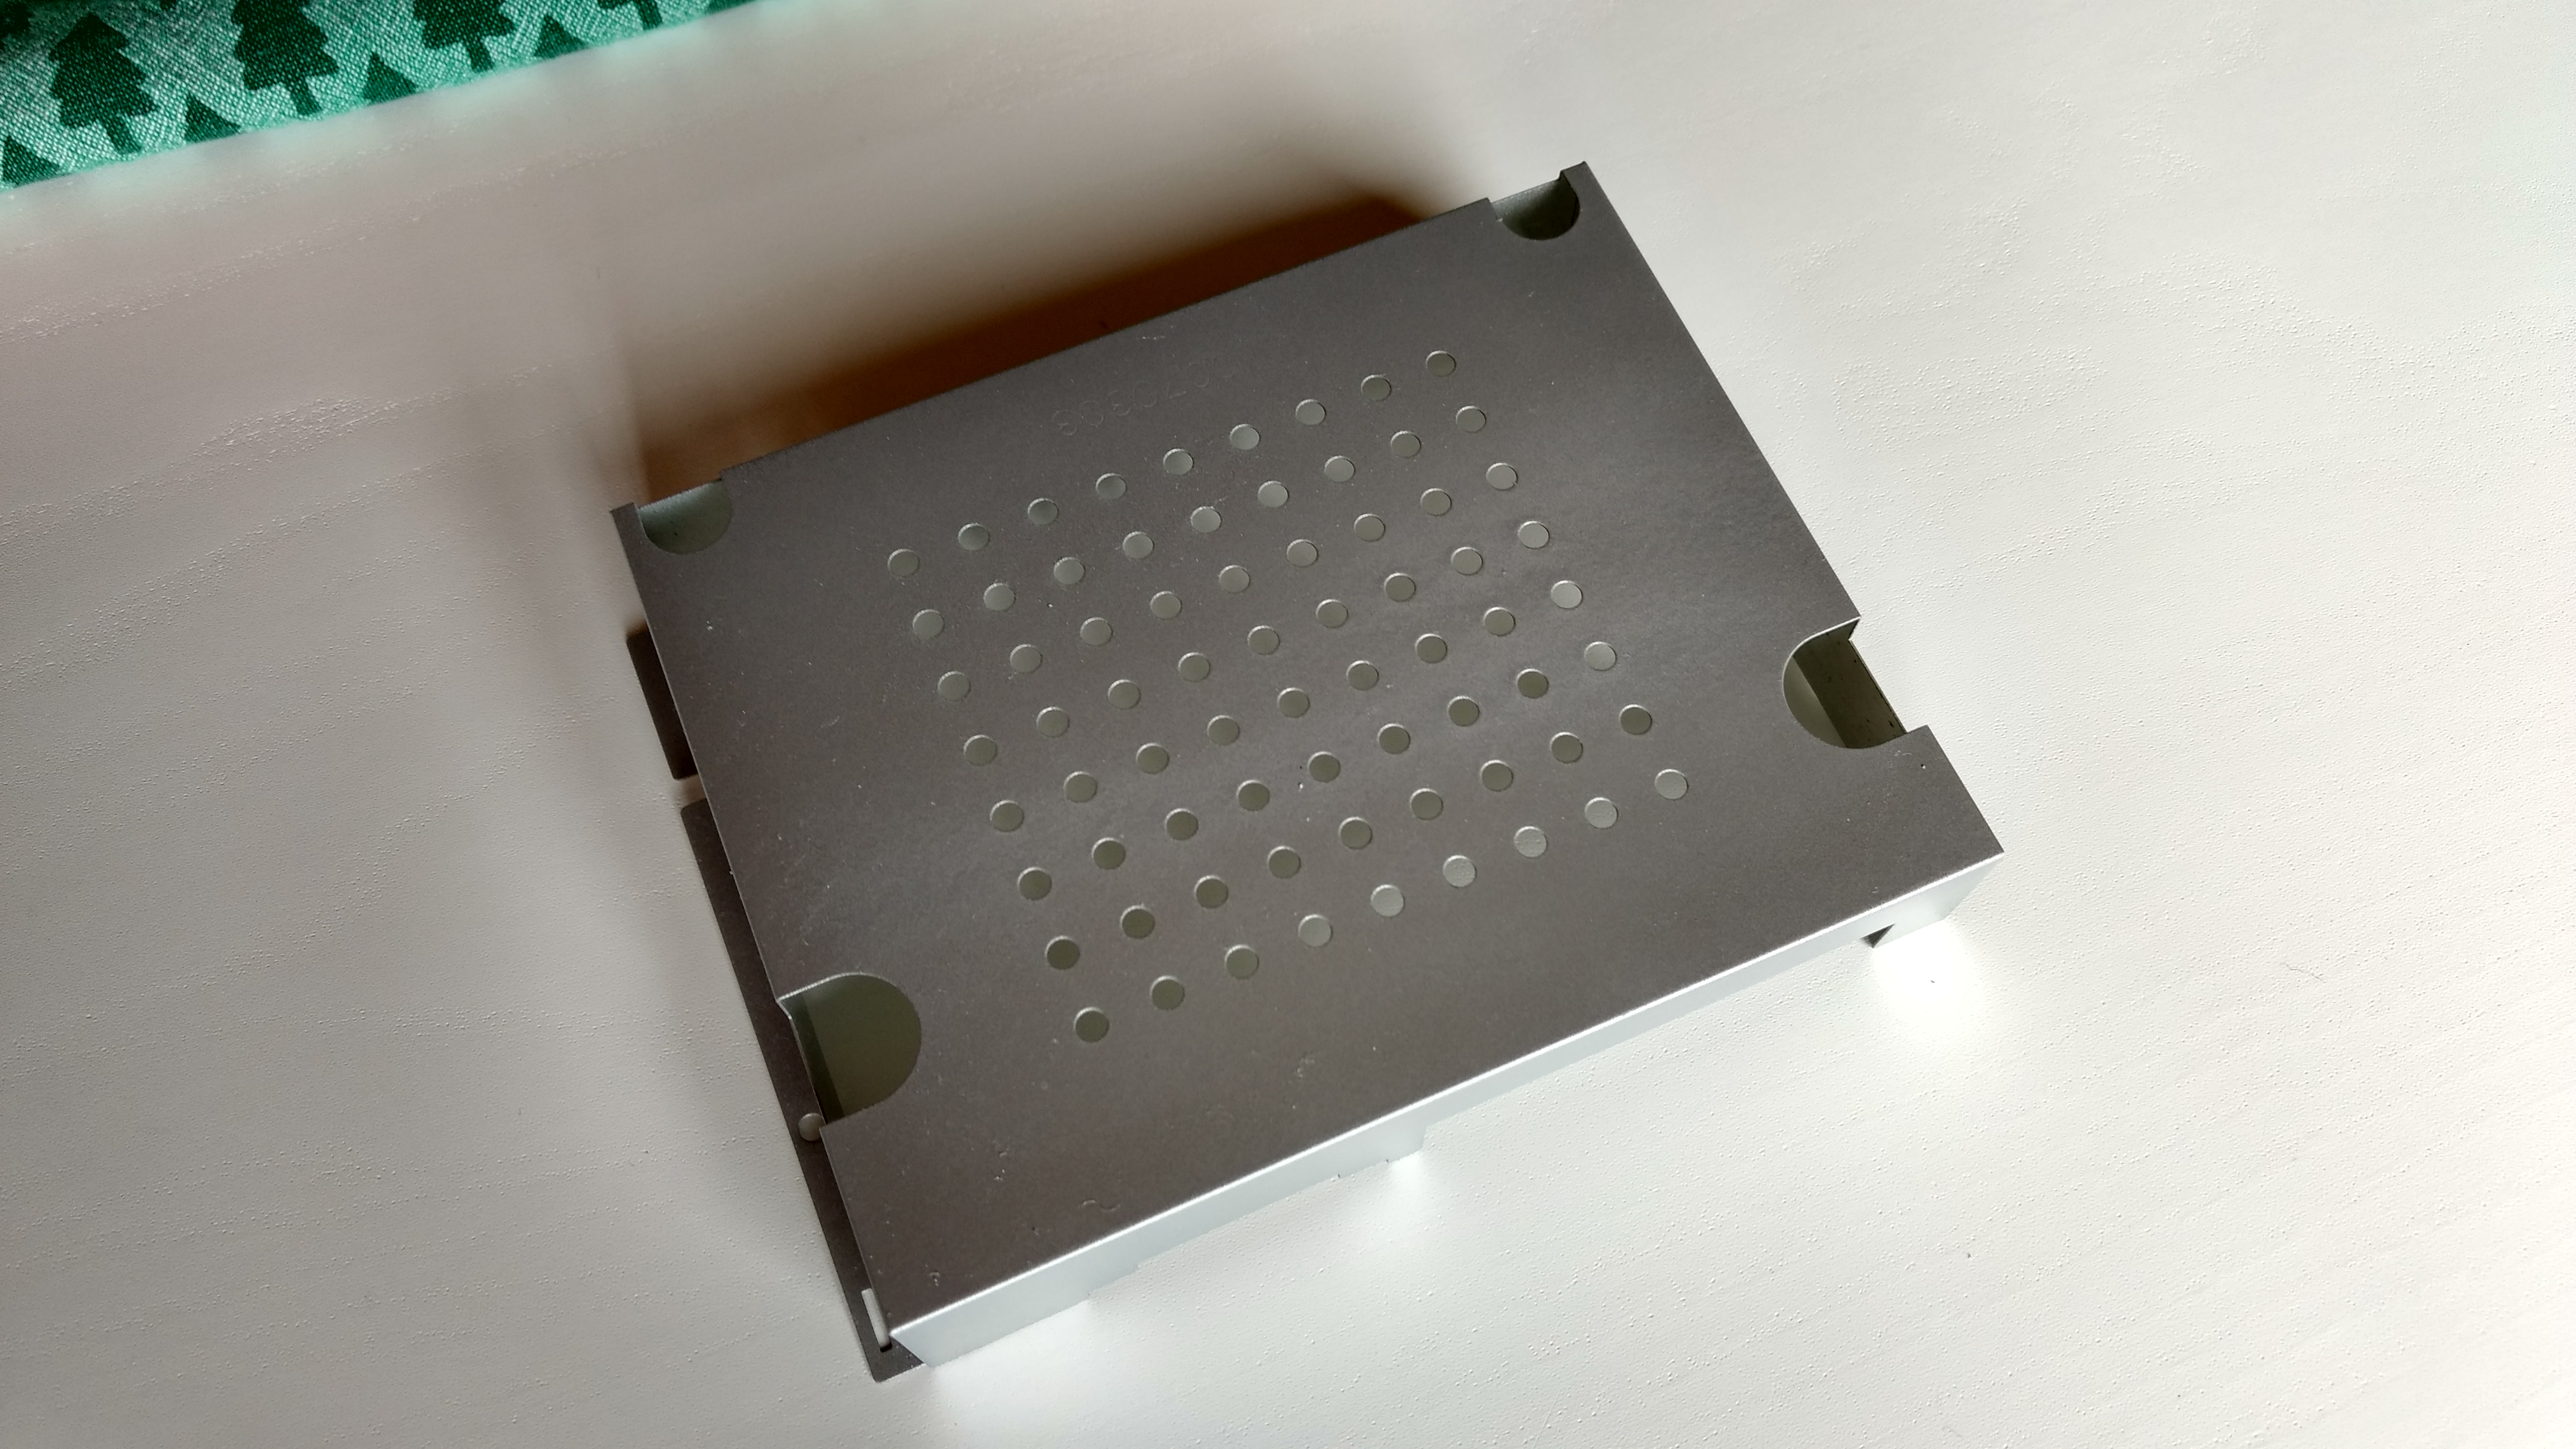
The powersupply shield after a nice coat of zinc/alu spray
Everything covered up again and looking new
Building the keyboard with these white keys on that clean board, it is so satisfying :-)
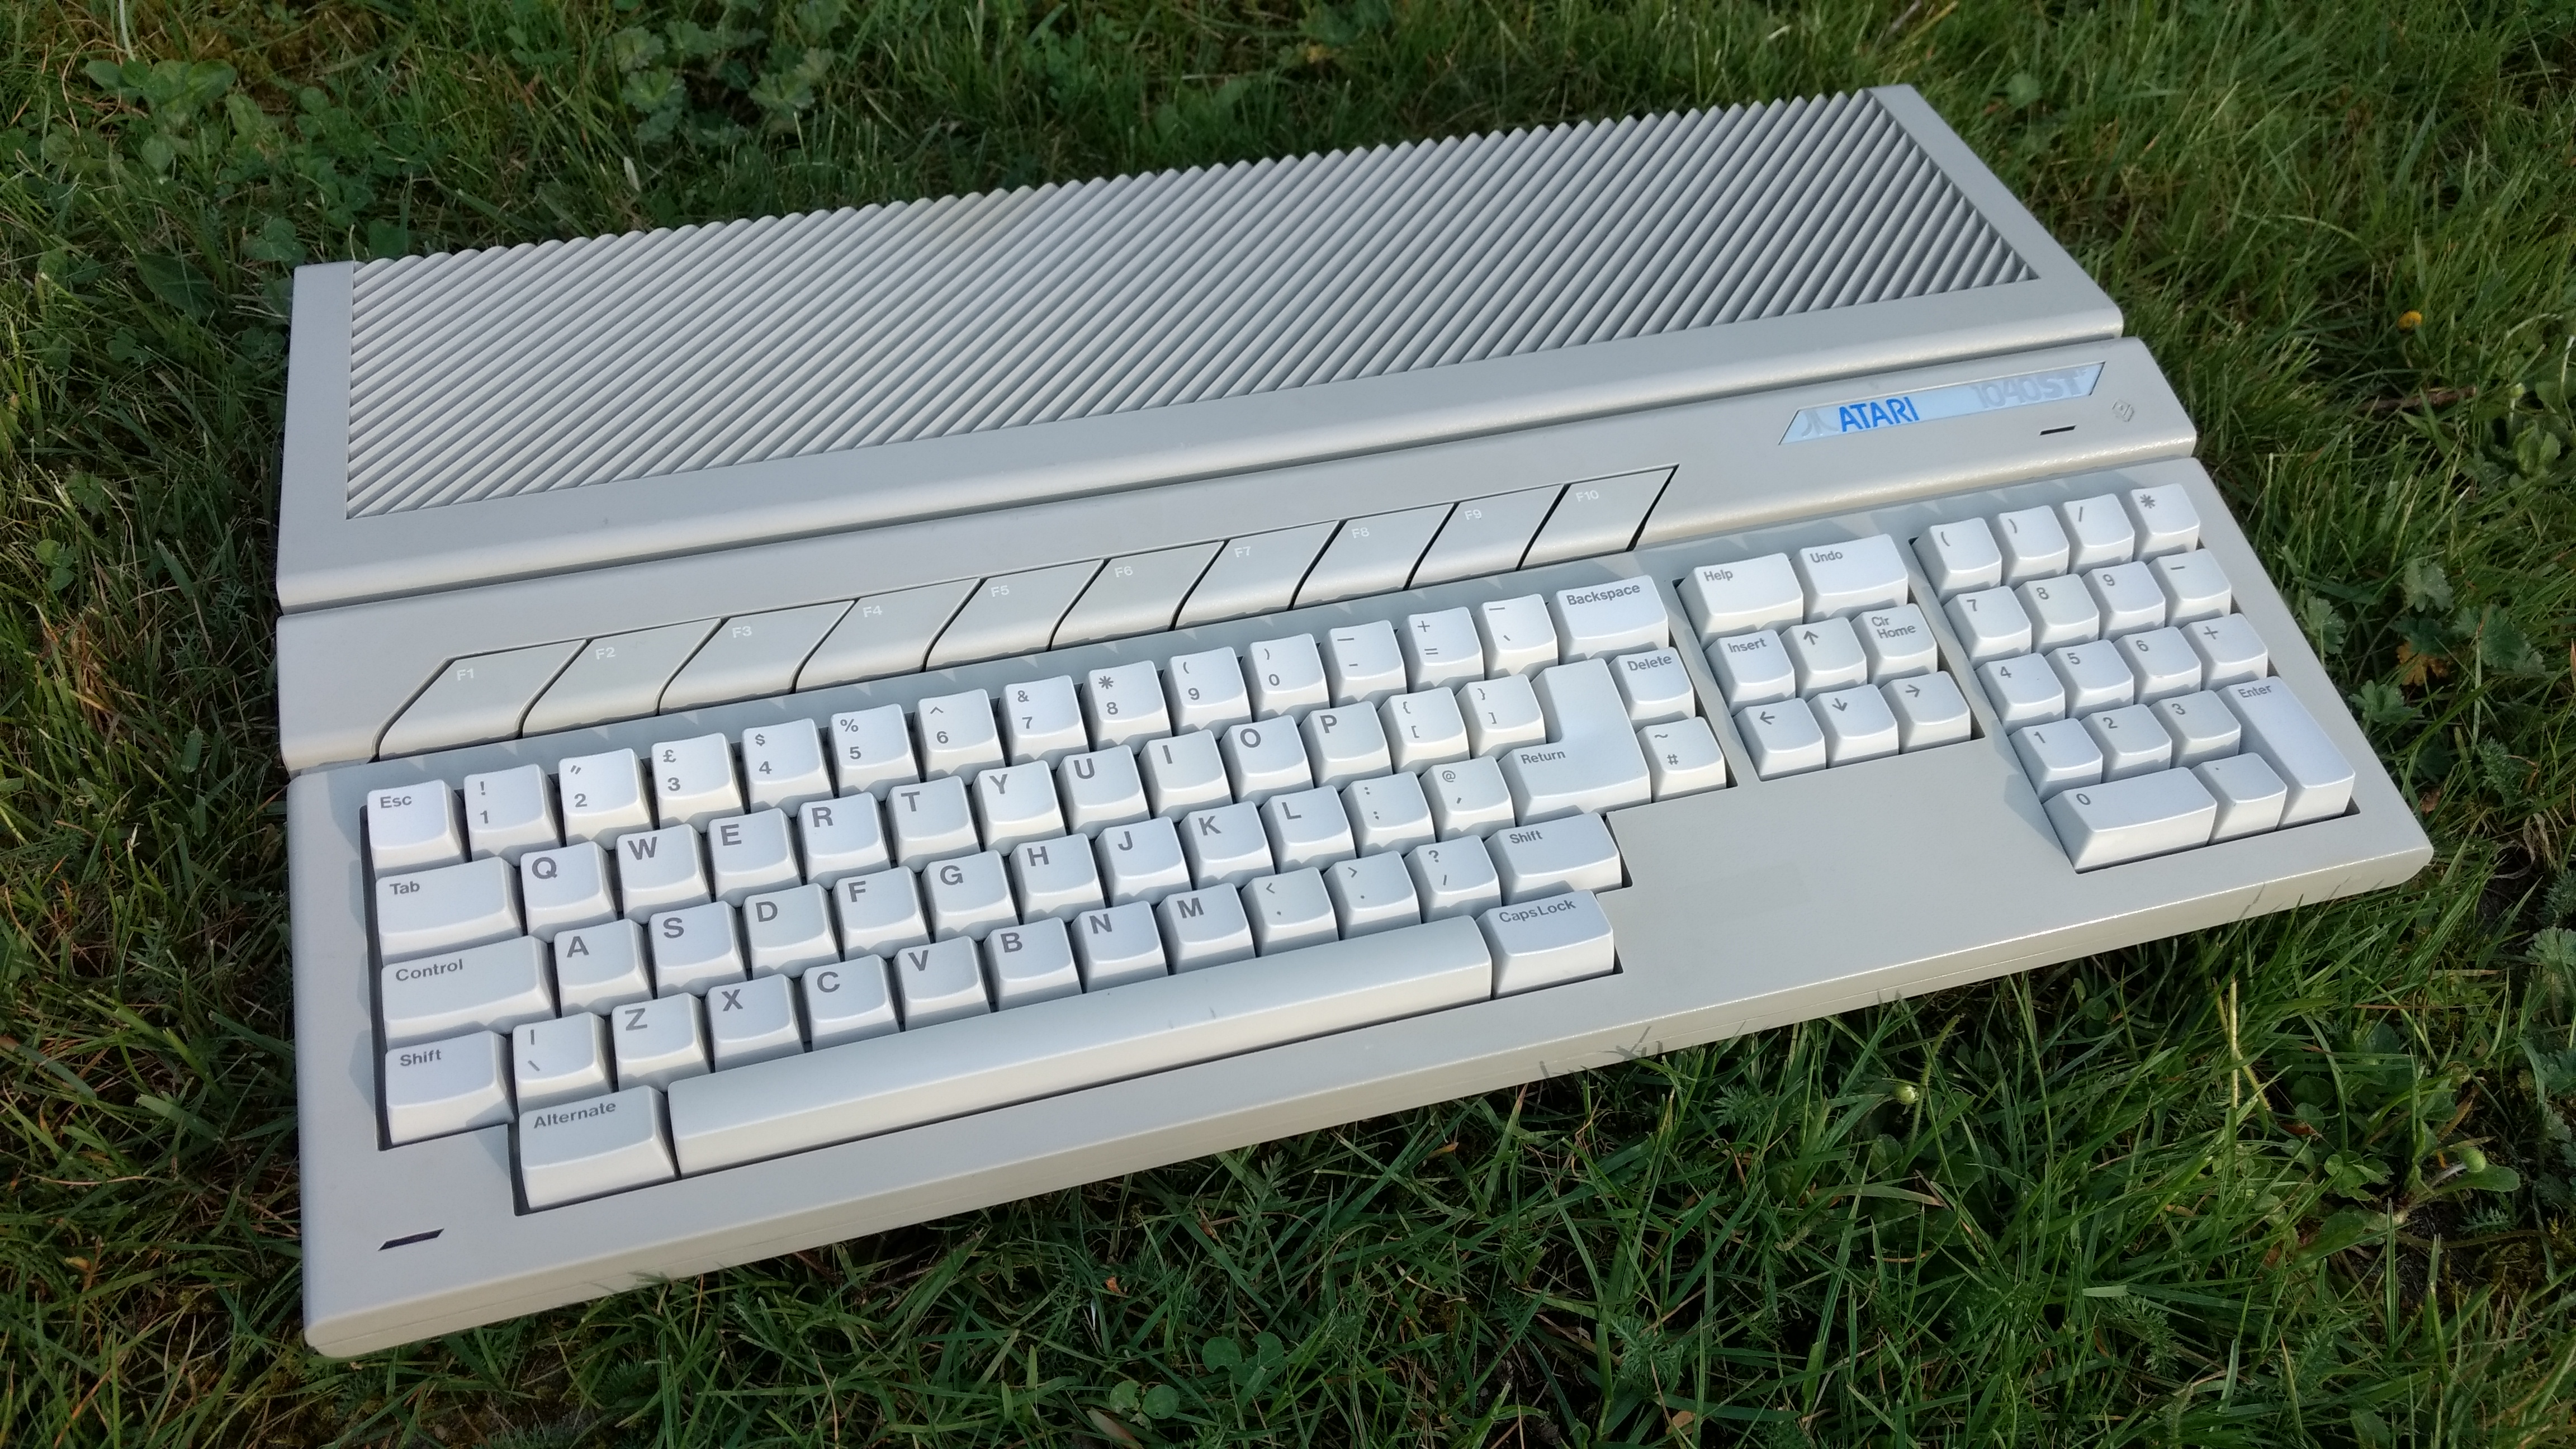
The end result is just staggering. Compare it with the first picture of this article.
The second project. A French STf. Notice some keys are more yellow than others.
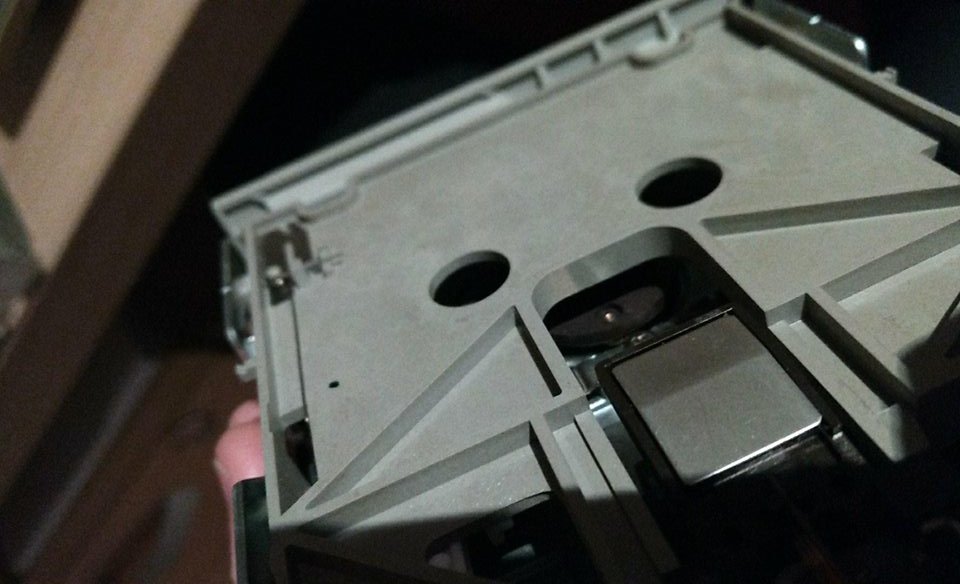
A little needle got stuck on the rotating, magnetic part of the drive.
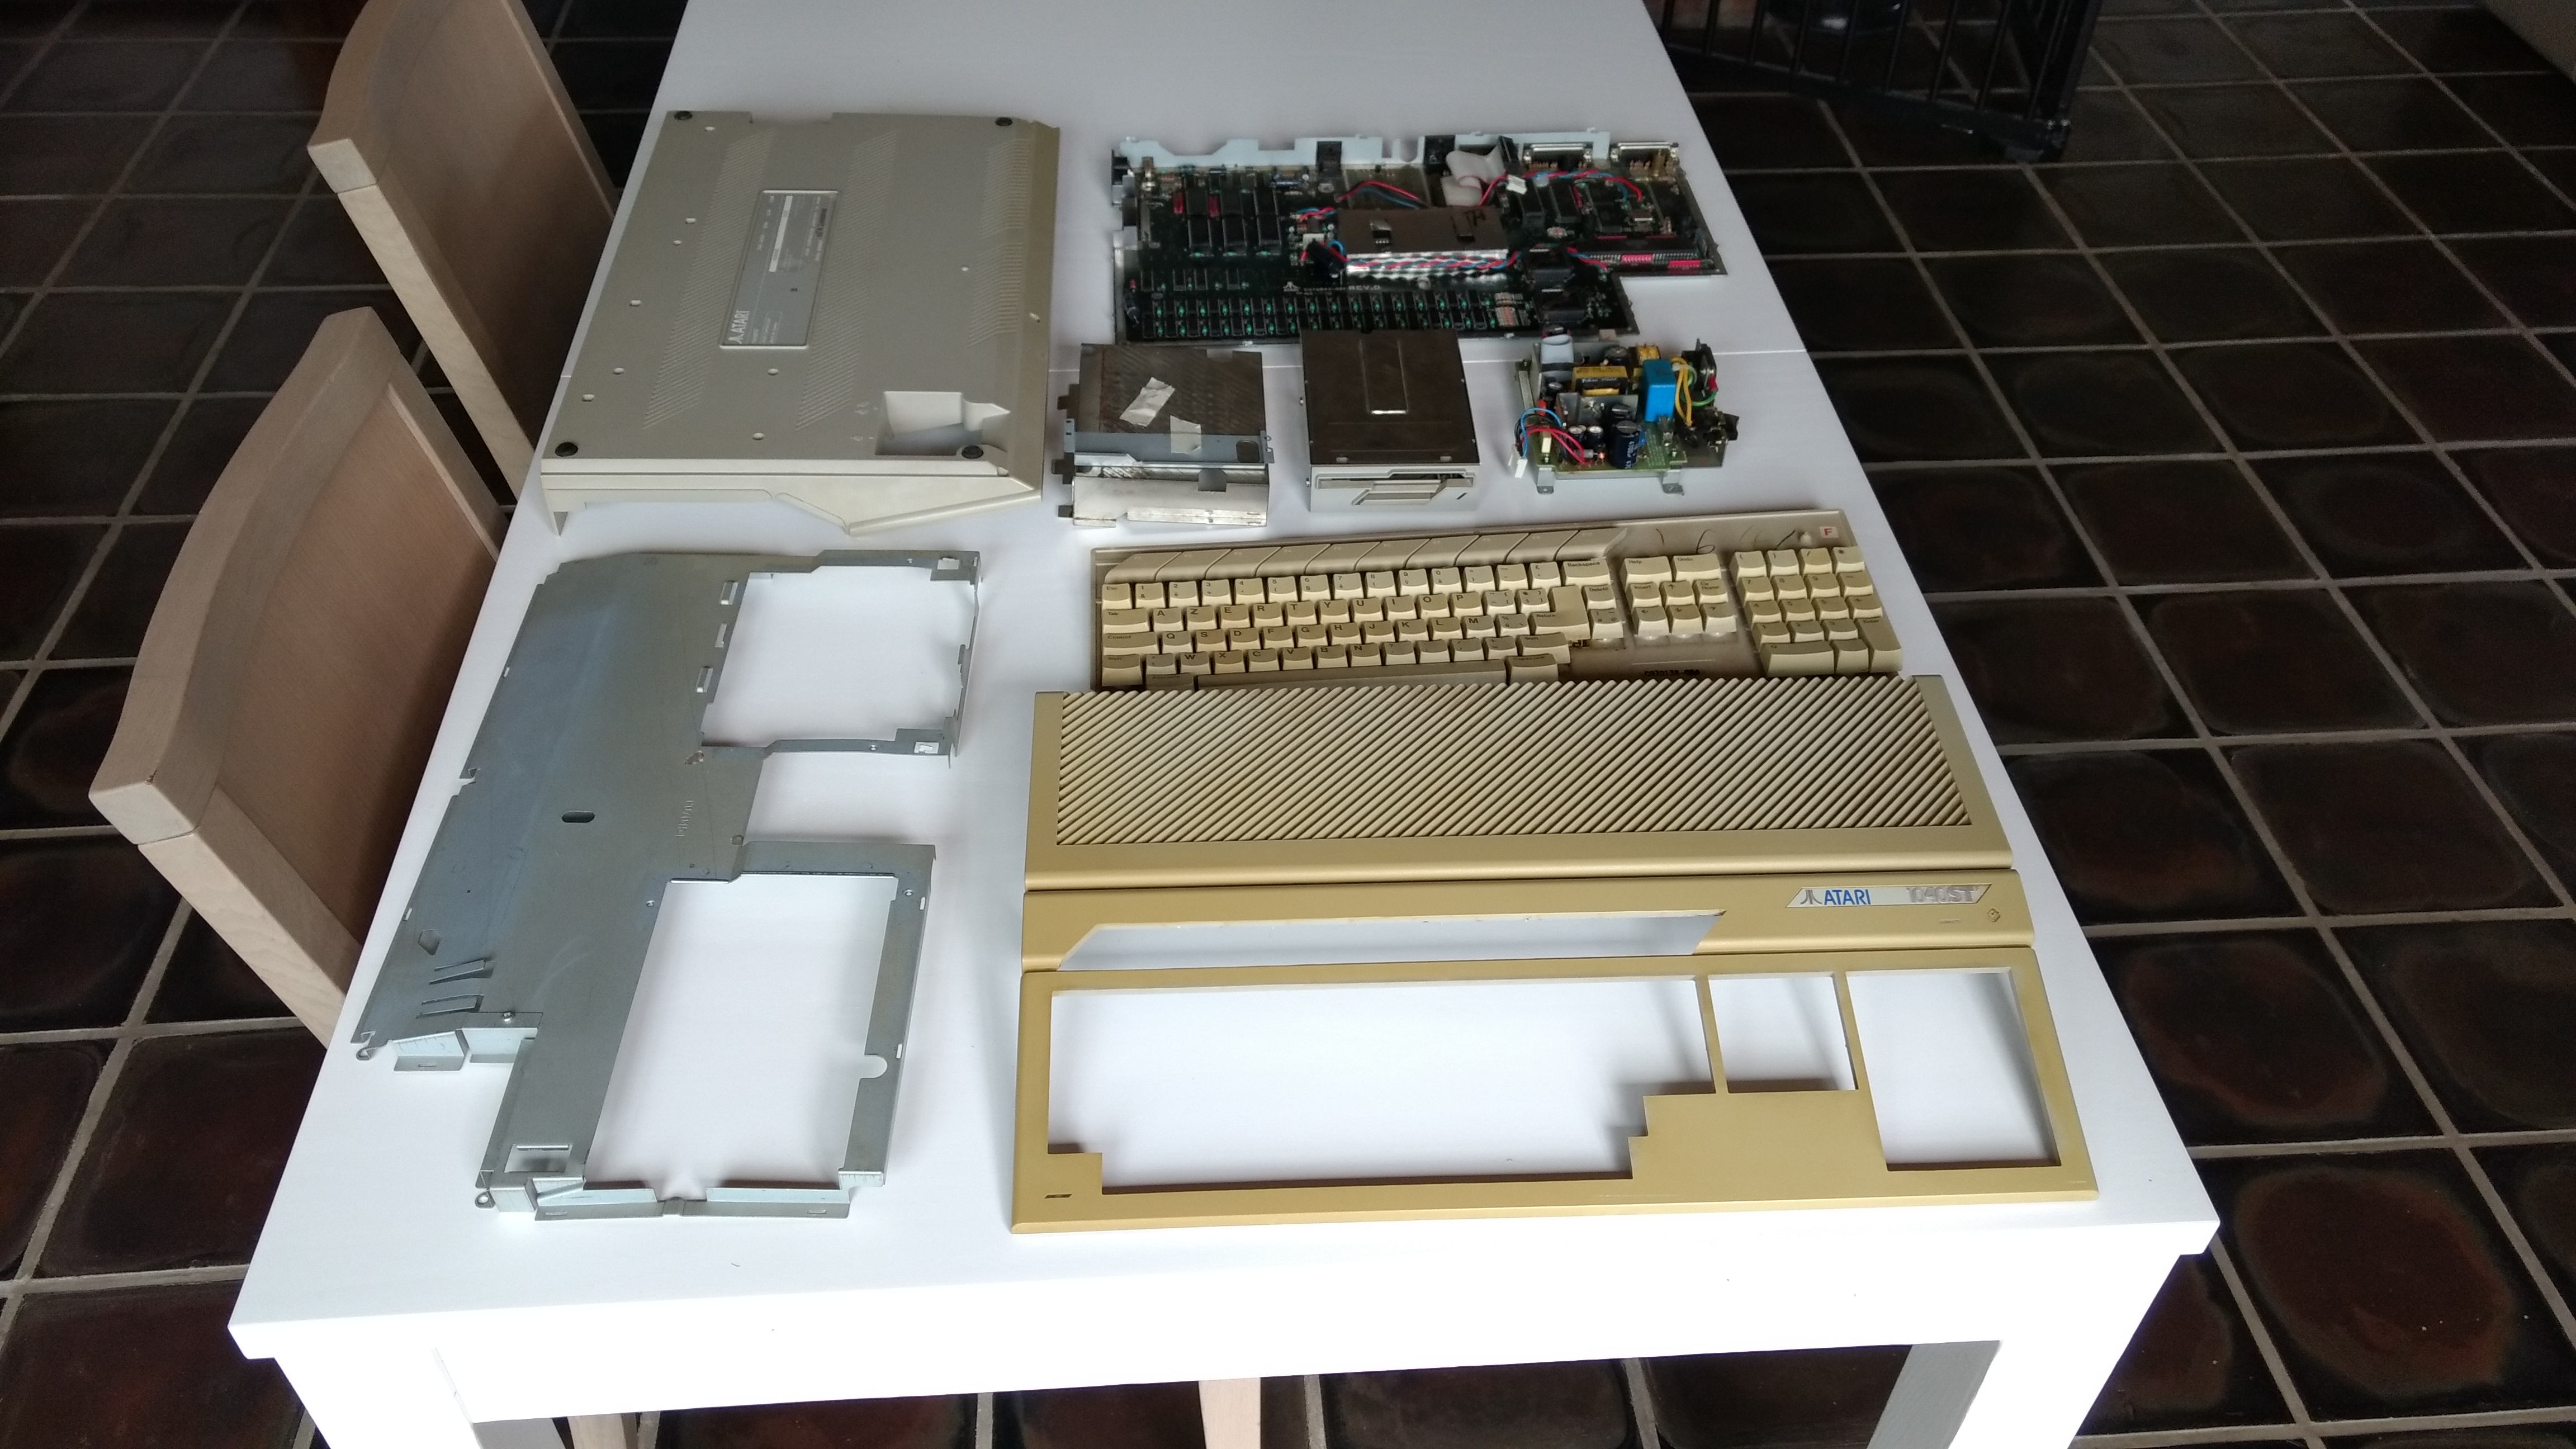
The second computer completely taken apart.
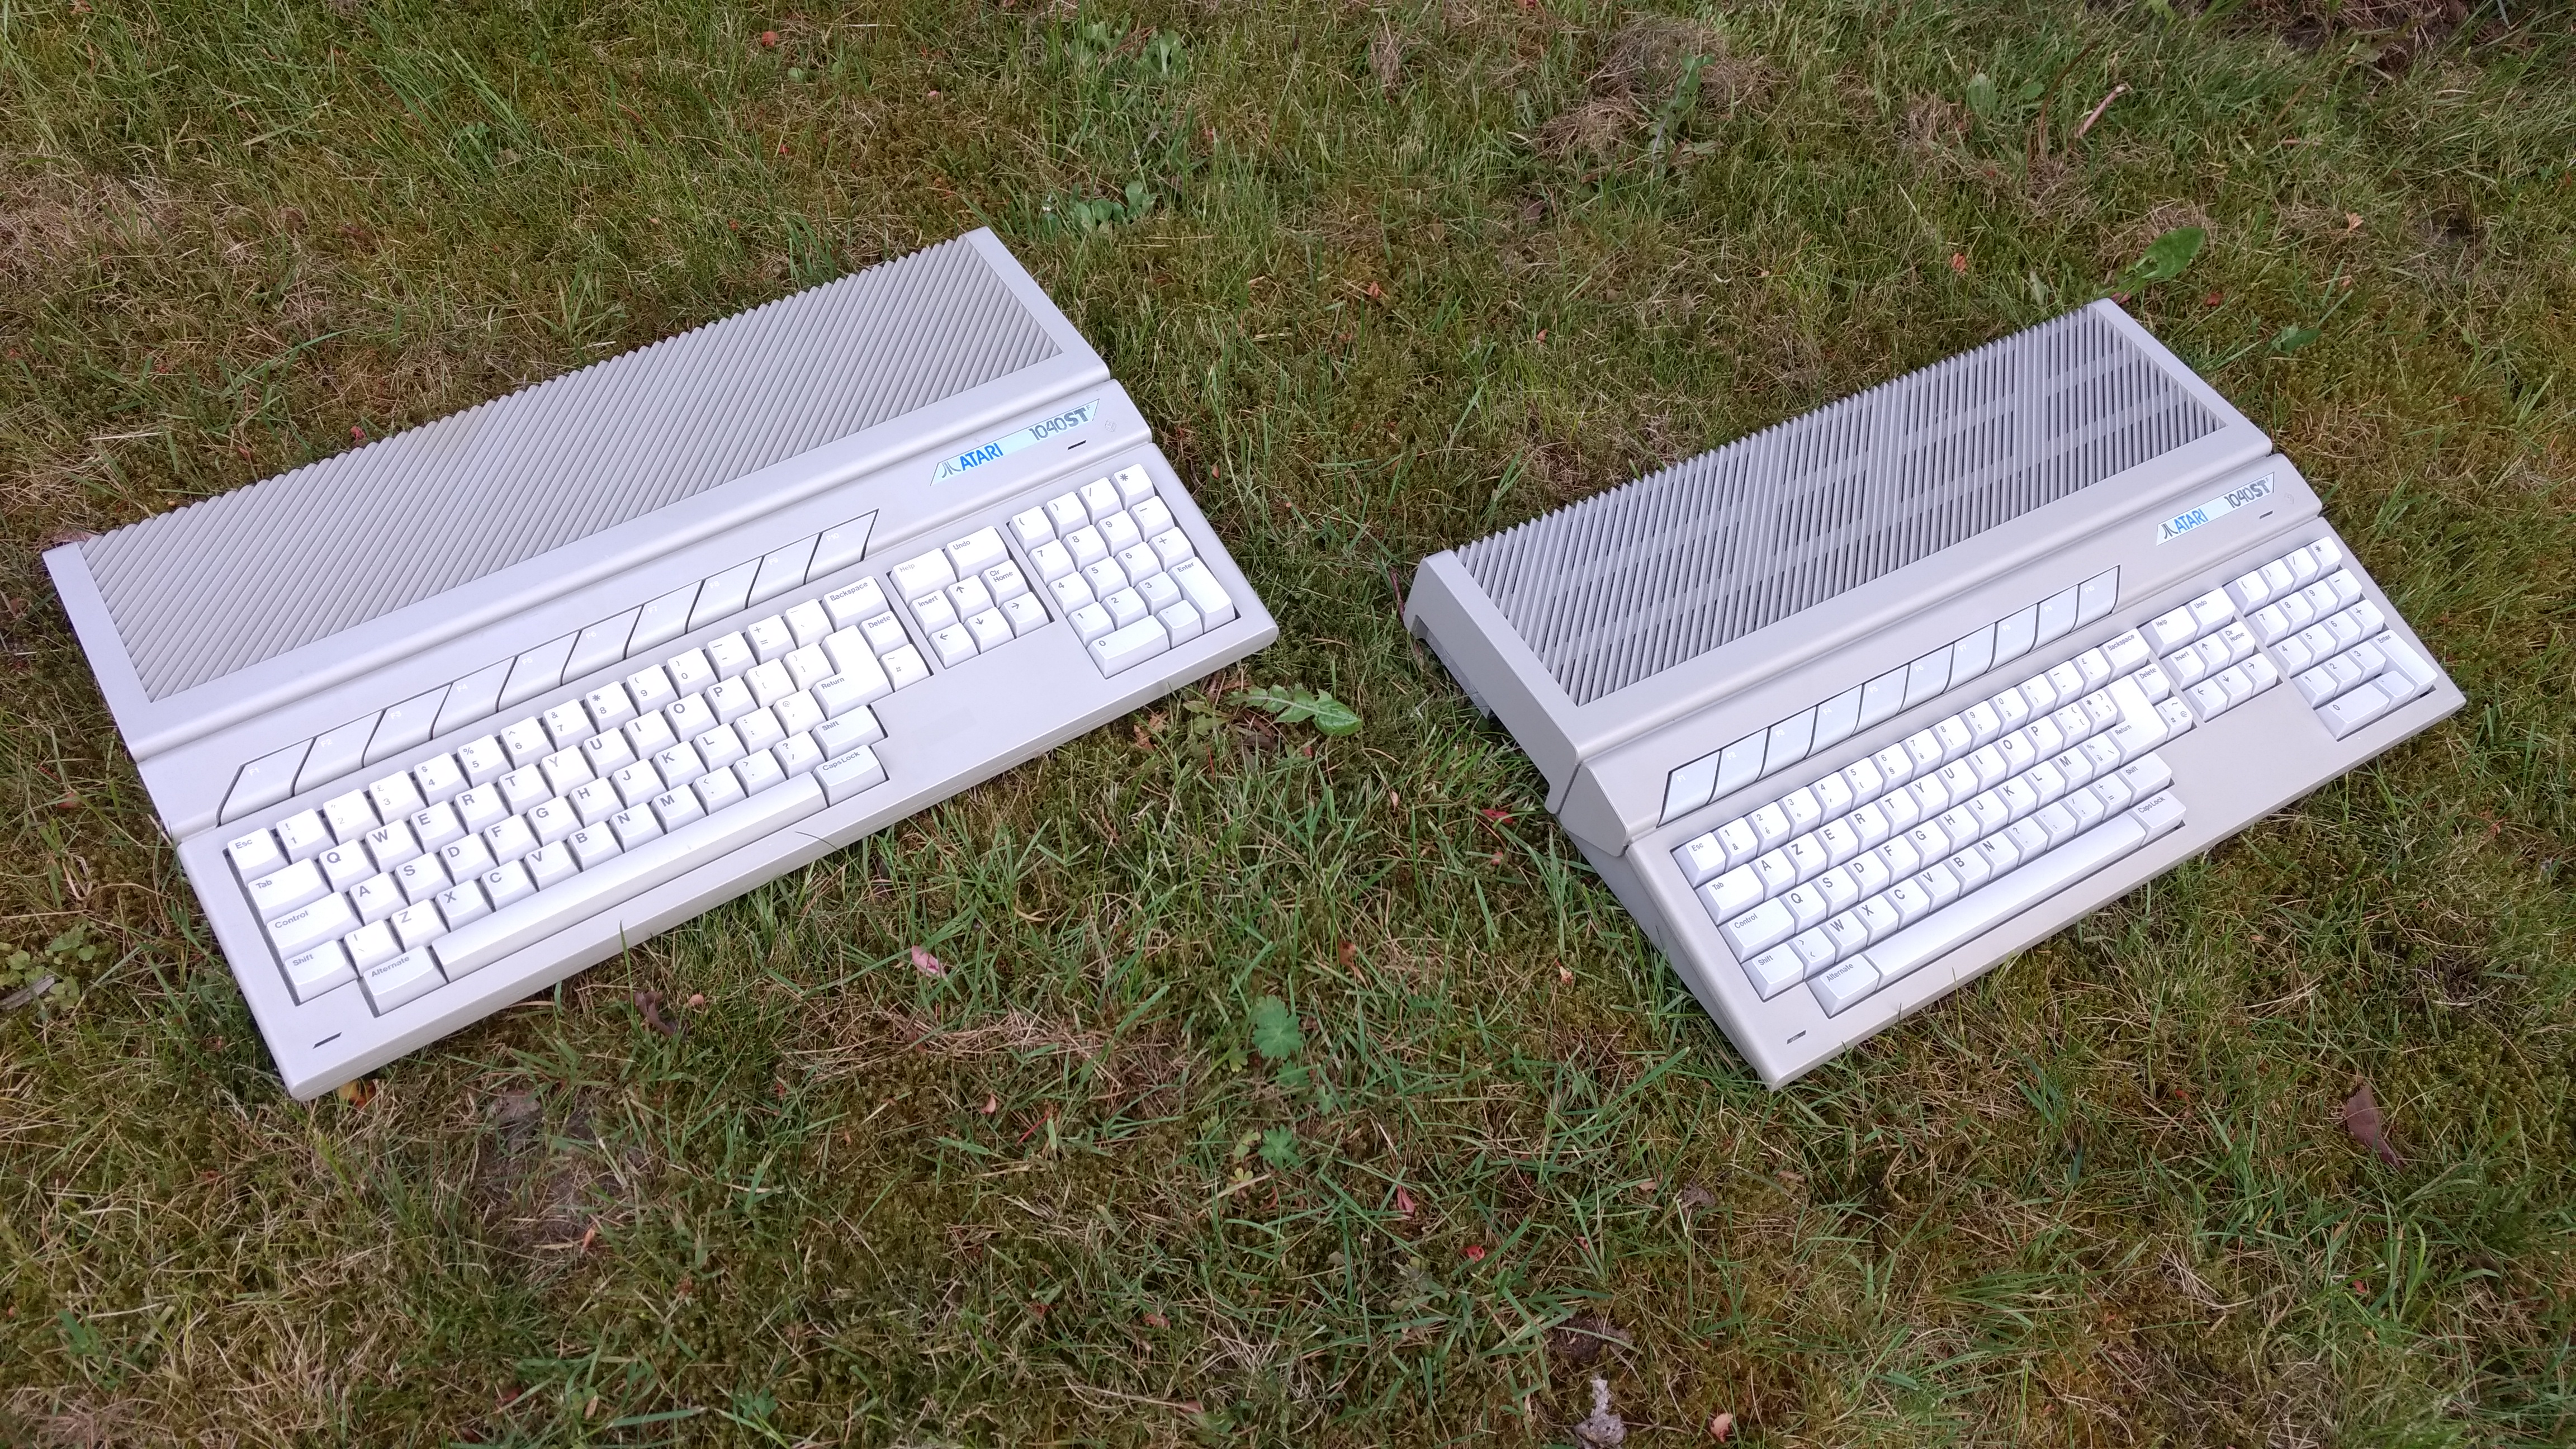
Here we have both machines restored. I think we can call this first adventure a true success
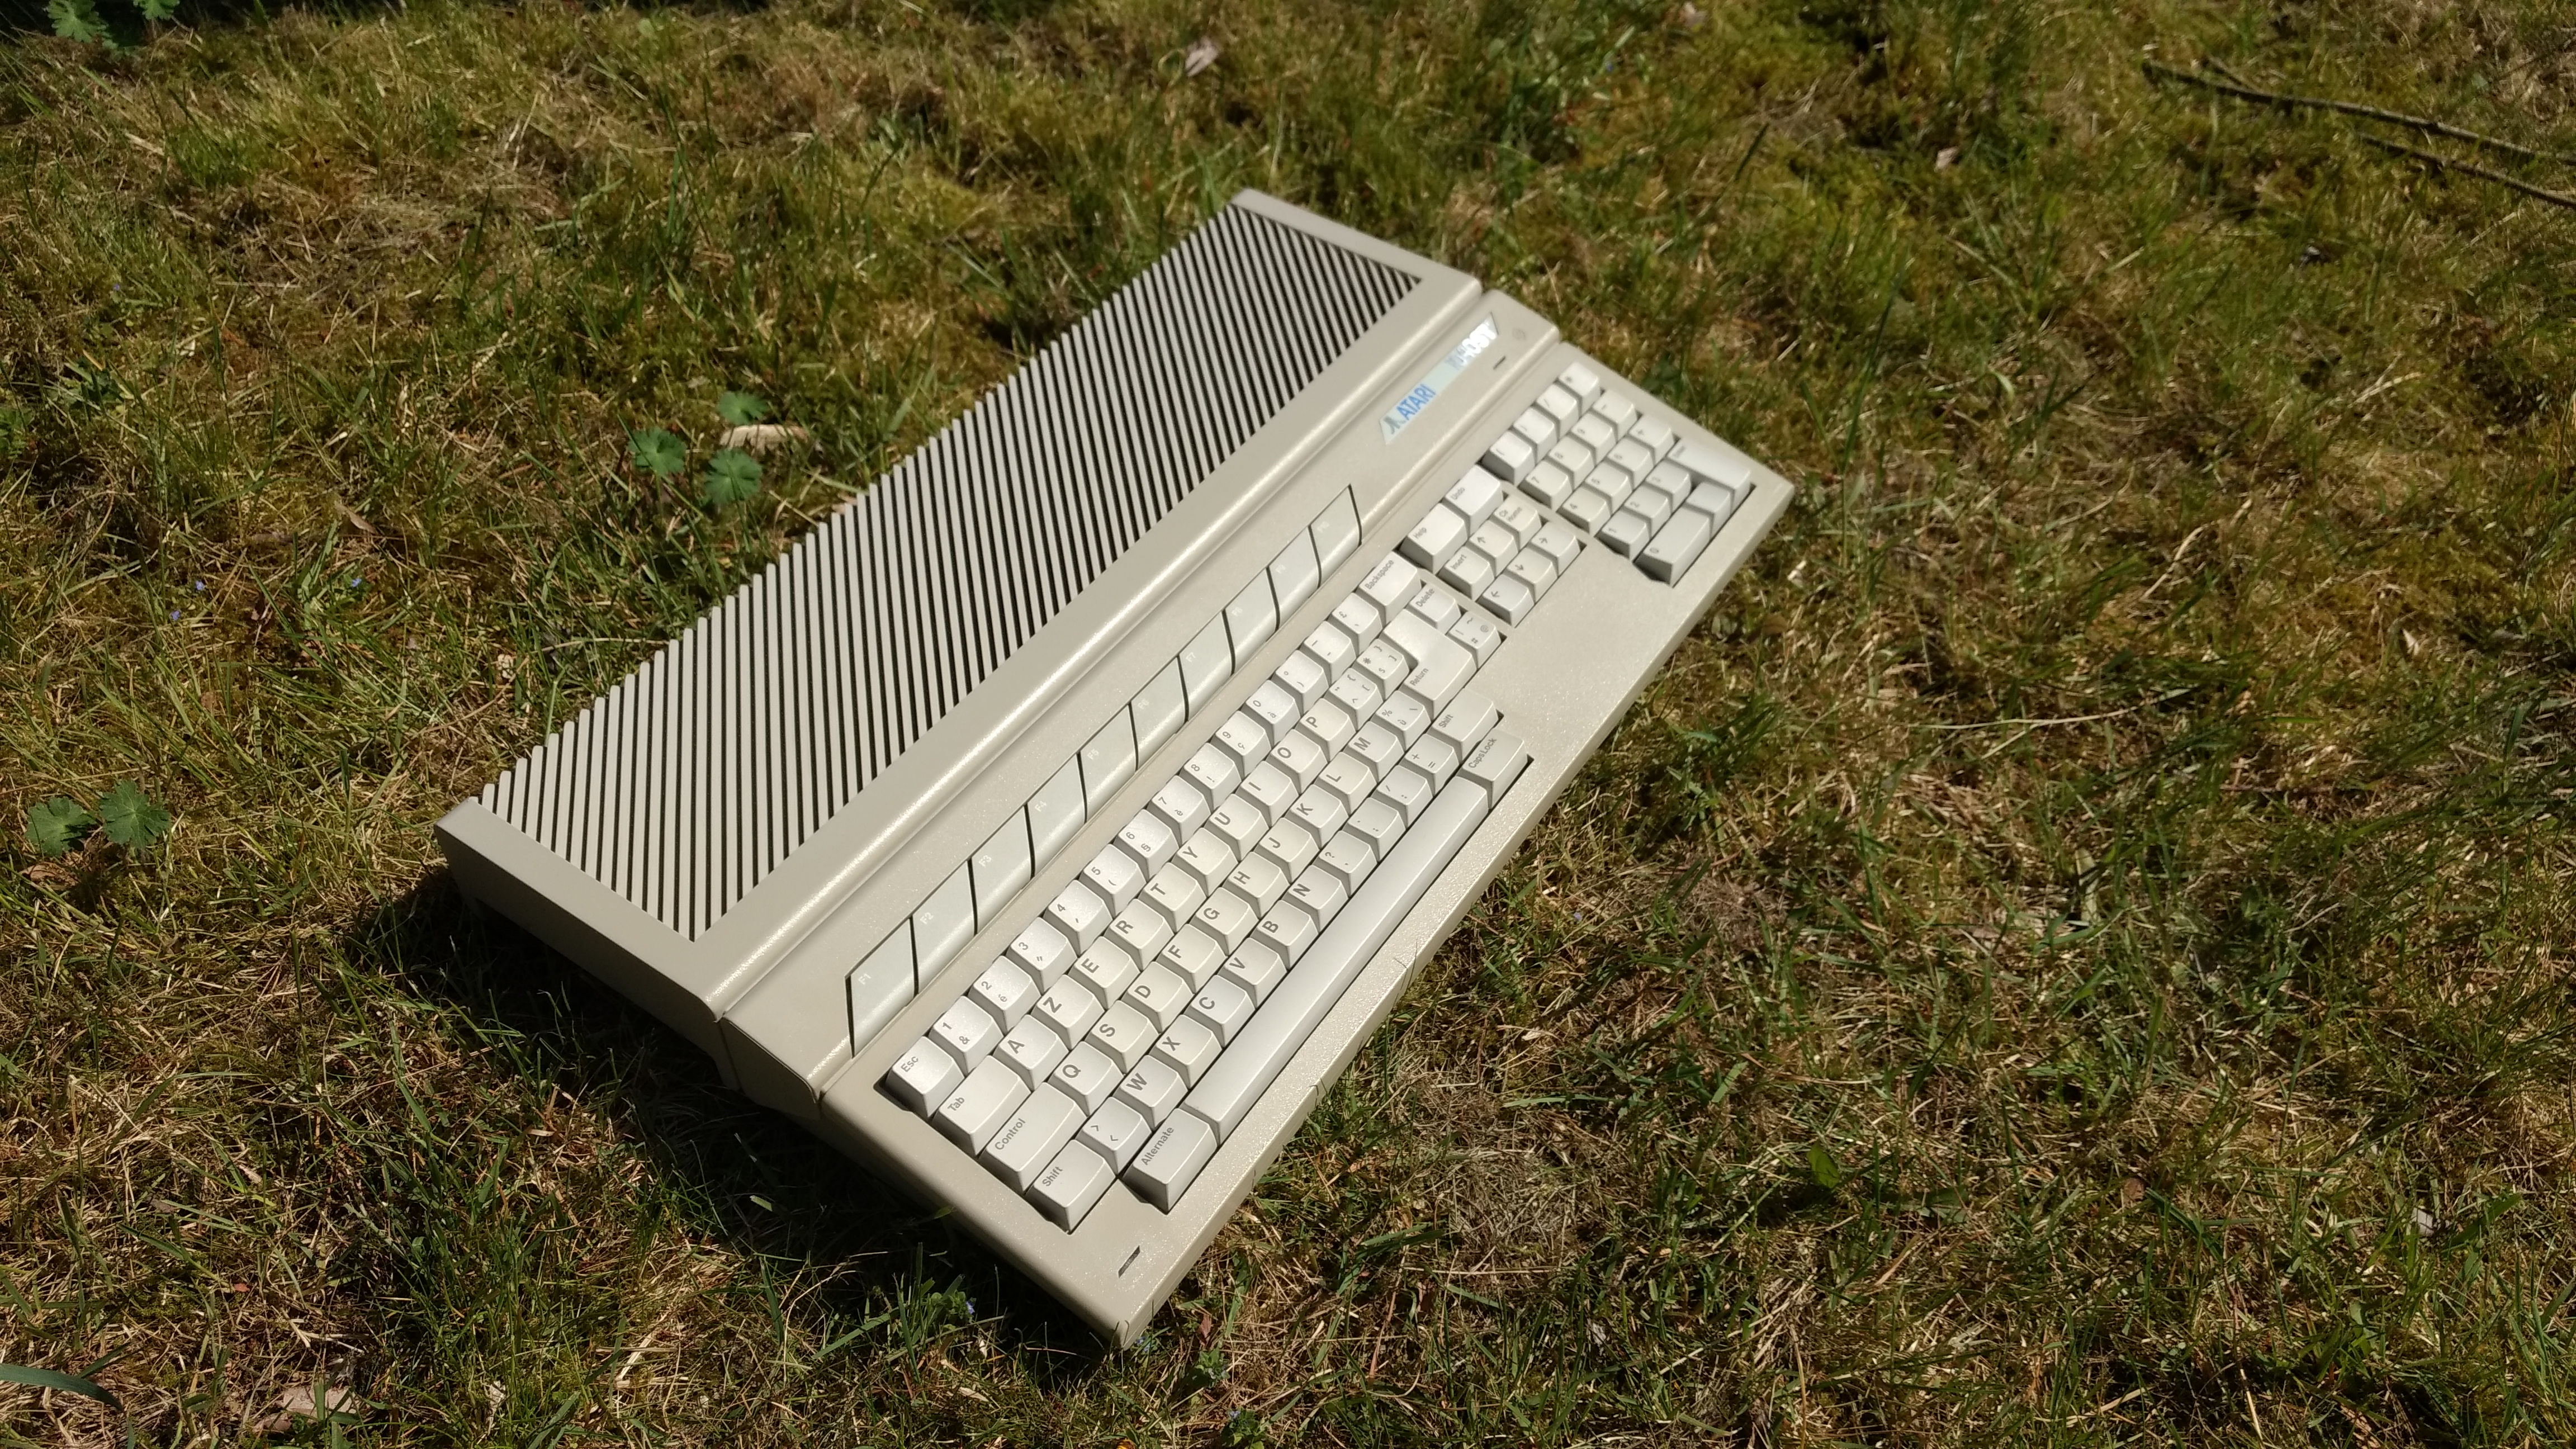
The French ST. 1 year later and still looking immaculate.
The freebie machine
So the perfect candidate for my first endeavour in de-yellowing was actually a gift by 2 of my retrogame buddies. Last year in May at the retrogame convention in Kalken (a town in Belgium) I was handed over a bag which contained a seriously neglected 1040 STf. It was in pretty bad shape, extremely dirty and very yellow. But most importantly, it was free. And as an extra bonus, it came accompanied by a SM125, a monitor type I had never seen before. After wasting away in my basement for almost a year now, I thought it was time to give it a test spin. Low and behold, the thing did a perfect job at running a bootleg copy of the game Micky Mouse at the first power on.
Dissecting a 1040
First things first, we need to open her up. This is the easy part. First you turn the computer upside down. There are 7 screws holding the case. These are placed in the more 'square' holes. Than we have 3 long screws keeping the drive in place. These are fitted in the round holes. Remove all of them. Once this is done, turn the 1040 back up, but hold both halves of the case firm in your hands. Since you have removed the drive screws, you don't want the diskdrive to fall out. Once the keyboard is facing upwards again, remove the top half of the case.
We want to be able to retrobrite the case, so we need to remove each and every part of the inside of the machine. This is an easy task, but it needs to be done in a specific order. Next up we need to remove the keyboard. Just slightly pick it up, pull out the keyboard cable and put it aside.
Once the keyboard is removed, we can continue with the shielding. The shielding actually consists of 3 parts. A piece protecting the power supply (the square box on the left), a little piece covering the connection of the drive and the main piece covering the complete board. Remove the first 2 pieces. Now disconnect the diskdrive and remove it.
Before we can actually remove the main shield, the powersupply needs to go. It is connected to the main board with 2 screws. Gently remove the powersupply board and watch out a bit with the power button. Now you can remove the final screws on the main board. Make sure you have a set of pliers at hand as well, else the shielding won't go anywhere (you will see). You are now able to remove the motherboard with the bottom shielding from the bottom half of the 1040.
That is all there is to it. We now have a table filled with parts of a 1040 machine. Let the cleaning process begin.
Let's get our hands dirty
Before I do any retrobriting, I clean everything. I don't know if this is necesarry, I just like this way of working. I use dishwasher soap, warm water and a sponch. The top and bottom half of the case I clean in the bath tub. This is the quick and easy part.
The keyboard on the other hand, is something else. First of, I take a picture of the keyboard! I remove every single key from the board. To remove the keys, you need to pull firmly, but you have to make sure to pull straight up. If you put too much force on one side of a key, you might break the plugs which hold them to the board. If you don't have a keyboard puller, you can easily make one of your own. Just look at the screenshot to get an idea. I took 2 pieces of electral wire, mimicking a puller. I put one piece on each side of the key and pulled them straight out. It get's easy really quick. Also be extra carefull with the space bar. It is plugged into the board in the middle, but it also has a metal part connecting it to the board.
Once all keys are off, I clean each one of them with soap and water. I also give the main board a good clean and I use cotton sticks to get the grime away around the plugs. You can of course also completely open up the board and remove the plugs, but up until now I did not have the need to do this (as there are no hardware issues with the keyboard and I'm able to clean it all thouroughly as it is).
Yellow be gone!
Now it is time for the thing we have been waiting for ... Retrobrite. The 2 most common techniques are the bathing in a mixed solution method or using peroxide cream. I only use the cream for the keys, I absolutely do not recommend using cream on larger plastic parts as it can easily leave a mark. I have seen great results on youtube, but my experiences are not as good and it kinda is a hassle. So how do we start?
First you need to have a plastic container large enough to keep a complete computer case. I suggest getting the full size container of the SAMLA collection at IKEA. These boxes come in all sizes and are super handy and cheap. Secondly I get myself some liquid peroxide (12%).
For my first project I made sure the largest container was filled with water, completely surrounding the case. Once this was done, I added 2 liters of 12% liquid peroxide. It is also very important to close the lit or to cover the box with plastic, making sure to let the greenhouse gasses do their job (But beware not to breath when opening the container after 2 days, and watch out for your eyes). I left the plastic in this mixture for 2 whole sunny days. We had about 25° celsius, making the water nice and hot (which also drastically speeds up the process I think). I do recommend to tape of the label on top of the case with some clear tape. I did not have any trouble with this machine, but I have had some bad luck with another one. A little tape prevents even more restauration in the future. Don't worry about the sticker on the bottom of the ST, it comes out perfectly even after 2 days in the tank.
Using this technique you don't need to worry about smears or streaks on the plastic, everything is evenly whitened. For the keys I do the same thing, albeit a bit more concentrated mixture in a smaller SAMLA container. Let's say half water, half peroxide. Also left them for 2 days. In the smaller container the water gets hotter real quick, which is a good thing. I started to add double sided tape to keep the keys at the bottom of the box, but because of the hot water, it doesn't matter if the keys are floating or even upside down, I'm getting pretty good results nonetheless.
You may have noticed from the first picture of this article, that some keys have yellowed more intensily than others. I think different kinds of plastic might have been used for the keys of these machines. Even after a peroxide bath, you may notice a slight color difference. I can't live with that so to really minimize this effect, I do an extra cream treatment on the keys that still have a shade of yellow. I use again 12% cream peroxide. Make sure to use latex gloves or some other kind of protection for your hands. Use a paint brush to cover a little layer of this stuff on each key. Wrap the keys in plastic. This is VERY important as you don't want to have the product dry, it leaves marks. Than I leave them for another 2 or 3 hours in the sun. Make sure to check on the keys from time to time because you can overdue everything!
Once you think you are done with all the peroxide, make sure to thouroughly wash the plastics.
The build up
And now for the fun part. Now that (almost) all parts are clean and looking new, it is time to re-assemble this beauty. I clean the main board with rubbing alcohol, removing all dust and dirt. Once this is done, it is time to put it back in the bottom half of the case. The second step is adding the powersupply. Wether you recap this (recommended) or not is up to you. A recapped powersupply is good for another 25 years of fun. The powersupply is attached with 2 screws to the main board.
Time for the main shield. I never put a rusty shield back. I use a zinc or alu spray paint on the outside for rust prevention and to make it look new again. Once dry, add the main shield on the board. Put the drive in place, connect the cables and add the last 2 pieces of the shield. Check out the result and be amazed!
Remember that picture I took of the keyboard layout? That comes in handy when finishing the keyboard. Pop up every key on the freshly cleaned board. Very satifsying indeed. Once all keys are in place, hook up the keyboard to the main board, take the top half and close everything nicely.
Now look at that result! This ST looks brand spanking new.
(This machine was treated during the weekend of 14-15/04/2018)
Done, done and I'm on to the next one!
I was so satisfied with my work, I immediately did another computer. Filled with confidence, it was now time to start working on my real collection. Even though I choose my leased loved piece, a fully boxed, French 1040 STf (yes, another STf). I got this one in a lot containing 2 Atari PC1 computers (Yes, you read it right!) as an extra bonus. Again, this computer was heavily neglected and dirty.
When booting up the machine, the drive did not seem to work. Upon further inspection, I noticed discs got only loaded when pushing the eject button just slightly. What the hell was that about? So I opened up the machine and took out the drive. Removing the outer case of the drive was a real shore. I had to drill out one screw. Upon further inspection I saw the diskette got jammed tight between the head and was unable to turn, once inside the drive. By pressing the eject button slightly, the head lifted up a bit and the disc could be read. After 30 minutes of looking, I noticed a little part of a broken needle, which got stuck on the magnetic part of the drive, pushing the discs up a fraction of a mm. This was causing all the trouble. Once the needle was removed, everything worked flawlessly and the clean up could begin.
Make it shine again
For the cleaning and retrobrite process, I used exactly the same techniques as with the first machine. And yes, also the same tank with the same mixture. I don't know how long a mix will have effect, but there was a week in between both projects. Again, just make sure to use a well ventilated area or do all the work outside. The fumes of the mix can not be healthy.
Apart from the different type of shielding in this machine, I did not discover any differences or had any difficulties with this build compared to the other.
(This machine was treated during the weekend of 21-22/04/2018)
Conclusion
The pictures speak for themselves. Retrobriting does work, as long as you take your time and plan the job carefully. As said, I do not recommend peroxide cream on large plastic parts. I still wonder how long it will take before yellowing will start to occur again. I will be updating this article again in the future. I have read that sunlight and heat play an important factor on re-yellowing. My collection is stored in a dry and cool basement, void of sunlight. Only time will tell.
I hope to do more of these kinds of restauration articles of my other machines in the future, so stay tuned.
1 year later - 20/04/2019
A lot of people always wonder if retrobright really works, if it is just temporarely or not. I can not answer that question, what I can say is that it has been exactly one year ago since I restored these 2 ST's to their former glory. And now, they still seem to look perfect. I have stored this computer in its original box in my Atari cave (My basement). It is cool in there and humidity controlled. See the photo and judge for yourself.
Oh, and if you are wondering where the other ST is? Well, it is currently somewhere in the UK getting the 'woody' treatment. I definitely will get back to you all about that.
Let's do this test again in 2021 ;-)
January 8, 2022 by ST Graveyard
While creating the Starball, console quality pinball on the Atari ST - Full history - Dave & Andy - Volume 11 Software video together with Dave & Andy, this article , originally written for Way Of The Rodent in 2011, was handed to me by Dave. This contains a wealth of information, a development diary on the creation of Starball, and so much more, that just can't get lost in time. So it is now available here. Enjoy.
December 26, 2020 by Schlampf
My Dream Atari STe is a mix of the system I bought at the age of 14 combined with what is possible today. Back in the day, I had an ATARI 1040 STe with a SC1224 color monitor, a cover and a mouse, as well as various joysticks - and that was about it. I do not know the exact price, but at that time it was around 2000 DM in Germany ($1200). All my pocket money and more went into it! Unfortunately, I sold everything. The only thing left is the Turrican II disk - my favorite game back then.
April 27, 2018 by ST Graveyard
There has been so much debate on the internet in the past 10 years regarding retrobrite. I have been having mixed feelings about the subject ever since I have learned of its existence. The success stories on youtube do look beautiful. But the horror movies posted by some people who got their precious hardware back all messed up, the resurfacing of the yellowing after a period of time, the fact if it actually harms the plastic or not. All these things caused so much controversy. But after reading and discussing about it for years, I finally gave in to the temptation. I knew exactly which technique I wanted to try out, and I'm so glad I did. I had the perfect victim in sight for the project. So if you want to learn a bit more about retrobriting your precious ST, come along and follow my first adventures in restoration. Not just any project, a double dose as I will be bringing back 2 STf computers to life.
January 21, 2018 by muguk
A Tribute to an icon... I woke this Sunday morning (21/01/2018) to see on Twitter and Facebook the sad news that Bob Wakelin had passed away.
Currently 0 registered users online
In the past 24h there were 5 registered users online